How to Choose Statement Lighting on Any Budget: Sizing, Lumens & Designer Rules
Choosing statement lighting on a budget starts with proportion, brightness, and color temperature rather than a designer price tag. Size a room chandelier by adding the room's length and width in feet to get the minimum diameter in inches, hang dining fixtures 30 inches above the tabletop, and match warm 2700K–3000K LED bulbs across the room.
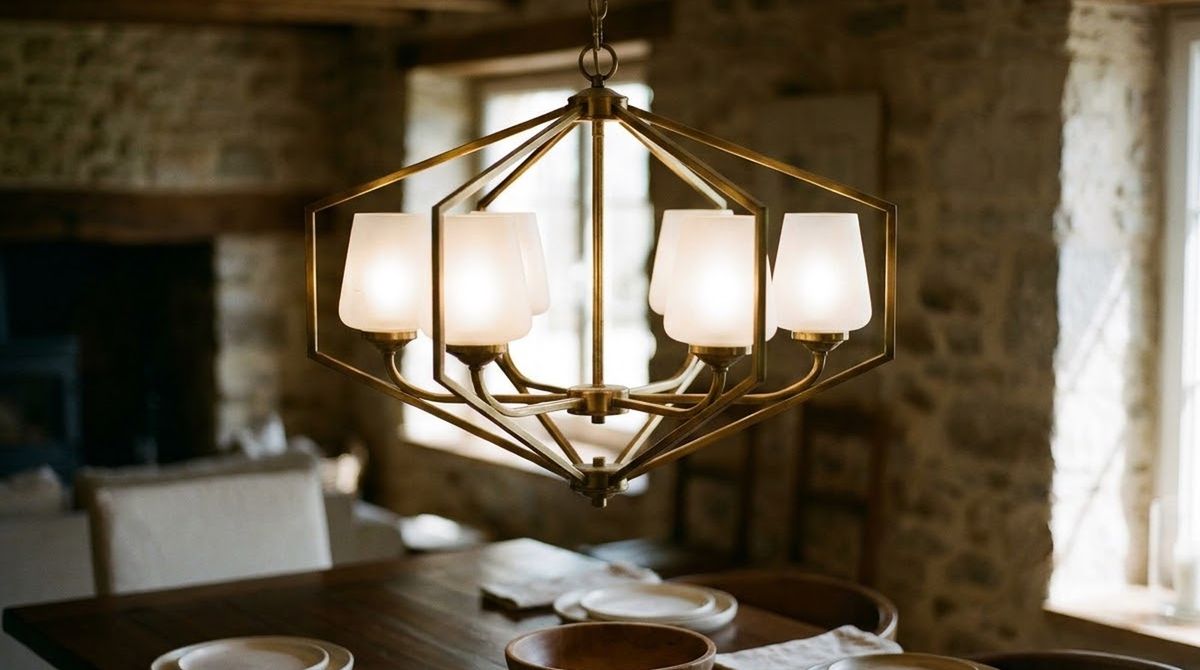
This is part of: Budget-Friendly Room Makeover: A Step-by-Step Plan for High-End Style
Statement lighting on a budget works when you prioritize scale, placement, and bulb quality over brand-name markups. A single sculptural pendant or chandelier acts as the focal anchor of a budget-friendly room makeover, drawing the eye upward and making modest furniture look intentional. Whether you are updating a dining room, living room, or entryway, following a few manufacturer-backed sizing and lighting rules prevents costly return-shipping mistakes.
What Makes a Light Fixture Look Like a Designer Piece?
A statement light fixture is a ceiling, wall, or floor luminaire chosen to serve as the primary visual focal point of a room rather than fading into the background. Expensive-looking fixtures rarely rely on intricate crystal or heavy ornamentation; instead, they share four design traits you can spot at any price point:
- Generous scale: Undersized fixtures are the fastest giveaway of a builder-grade or budget swap. Choosing the full width your room calls for gives even a simple metal or linen shade commanding presence.
- Honest materials: Brushed or aged brass, matte black powder-coated steel, frosted opal glass, and natural woven rattan age gracefully and photograph like custom pieces. Avoid shiny, thin plastic faux-metallic finishes that reflect uneven seams.
- Clean geometry: Simple silhouettes—such as linear bars, tiered drums, sputnik arms, or globe clusters—look architectural because their proportions carry the design.
- Hidden hardware and clean cords: Look for fixtures with rigid downrods or matching fabric-wrapped cords and flush canopies rather than crooked bare plastic wires.
For more small-swap ideas that elevate an entire space alongside new lighting, see our roundup of the 7 finishing touches that make any room look expensive.
How to Size Statement Lighting for Any Room
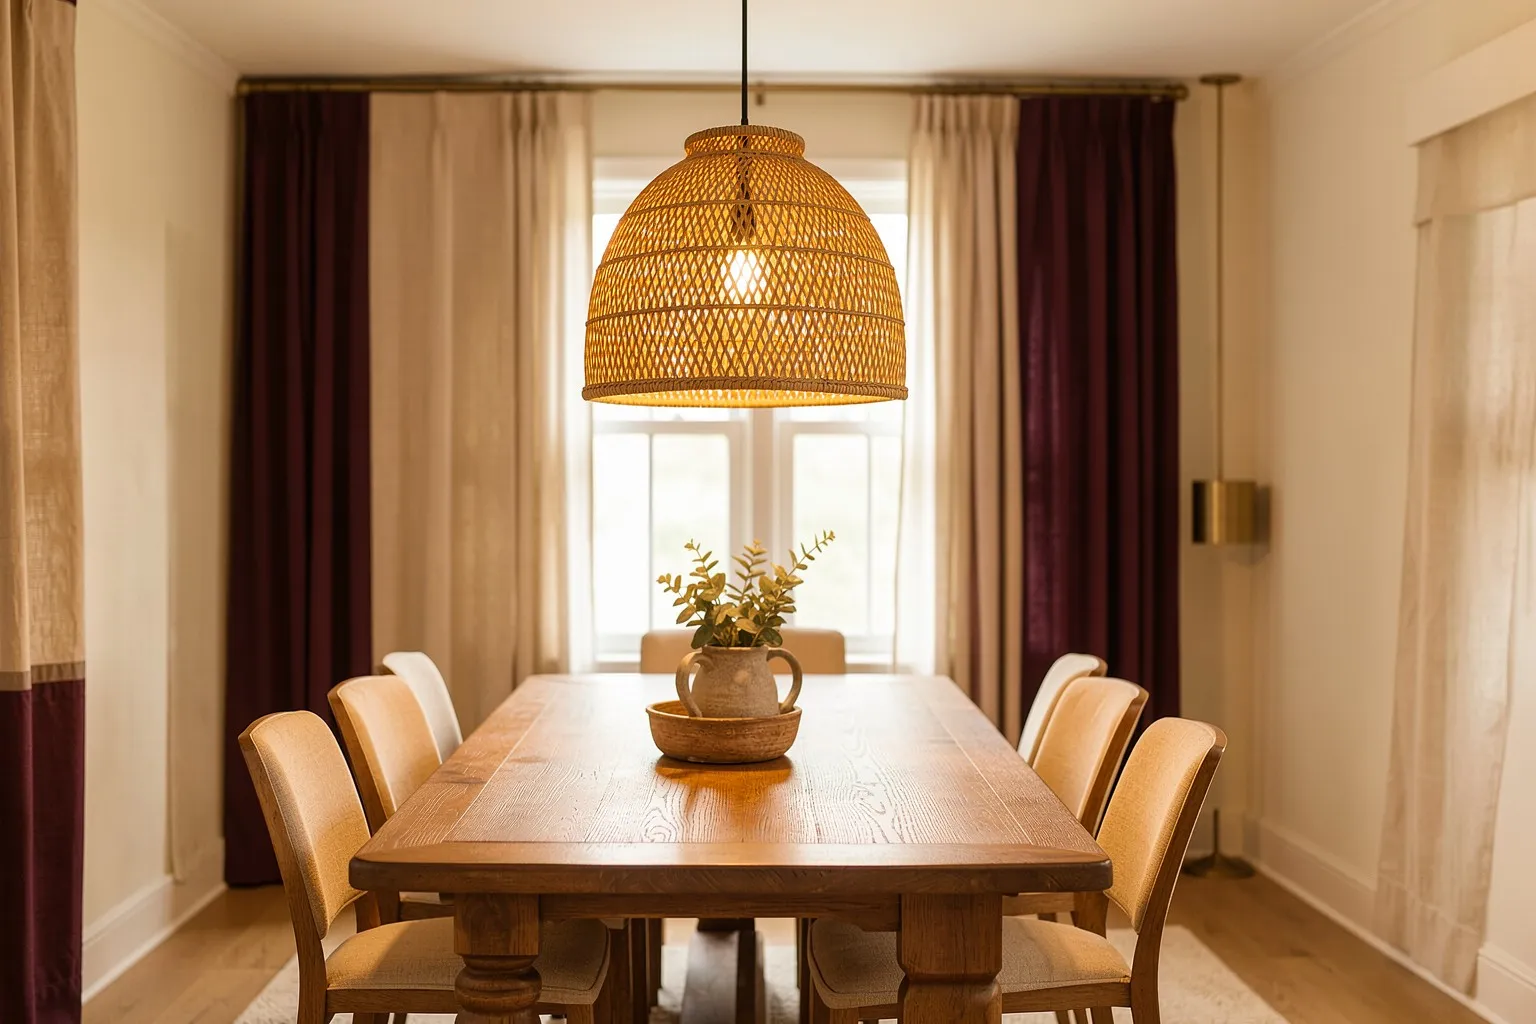
Getting the physical dimensions right matters more than the price tag of the fixture. According to Kichler Lighting’s chandelier planning guide, you can calculate the baseline diameter for a central room fixture in two steps:
- Measure the room’s length and width in feet.
- Add those two numbers together and use the sum in inches as the minimum diameter for your fixture.
For example, a 12-by-14-foot dining room or living room equals 26, which means your chandelier should be at least 26 inches wide to anchor the space without looking lost.
Sizing Over a Dining Table or Kitchen Island
When a fixture hangs directly over a piece of furniture rather than floating in the center of an empty room, size it to the surface below:
- Round or square tables: Use the room-size formula above, then check that the fixture still looks in proportion to the table so it does not overwhelm it.
- Rectangular tables: Choose a linear chandelier that measures one-third to one-half of the table’s total length, per Kichler’s planning guidelines.
- Kitchen islands: Hang two or three matching mini-pendants spaced evenly along the counter rather than one oversized dome, which concentrates light evenly over prep zones.
Where and How High to Hang Statement Fixtures
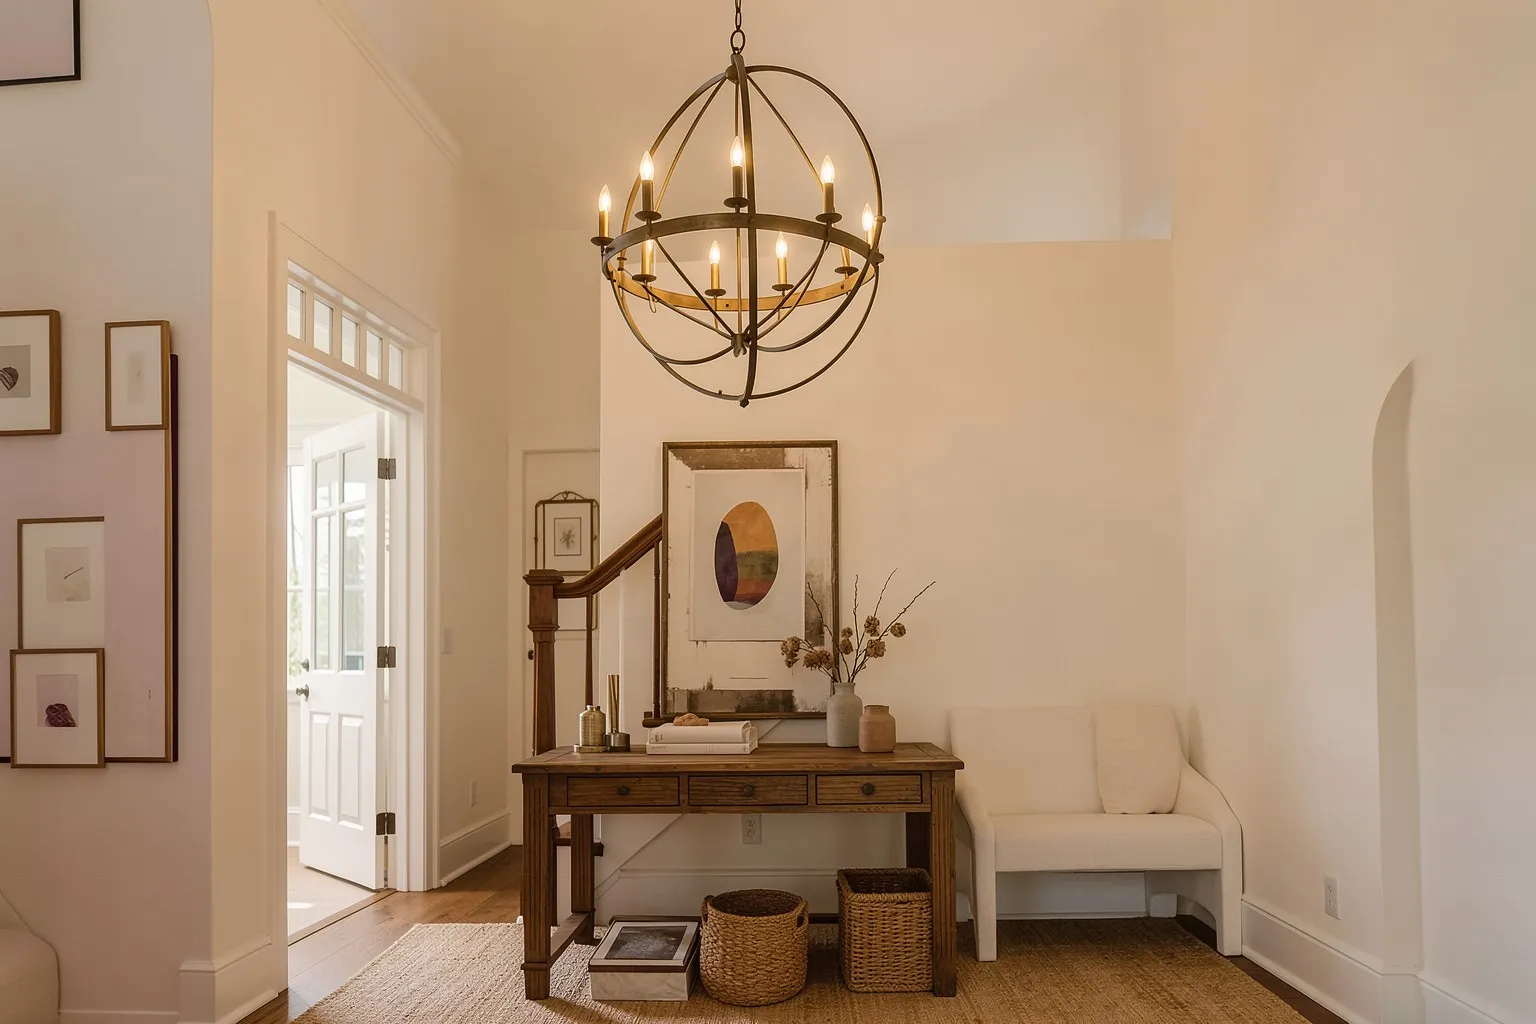
Mounting a fixture too high disconnects it from the furniture below, while hanging it too low blocks sightlines and creates a head-bump hazard. Follow these clearance benchmarks before cutting downrods or chains:
- Over a dining table or breakfast nook: Hang the bottom of a round or square chandelier 30 inches above the tabletop. For wider tables or taller ceilings, raise the fixture by 3 to 6 inches. Linear chandeliers with a larger central mass can also sit slightly higher to spread light across the table.
- In foyers, hallways, and open living rooms: Maintain at least 7 feet (84 inches) of clearance from the floor to the bottom of the fixture so people walk comfortably underneath.
- Wall sconces: Kichler’s living room lighting guide recommends mounting wall sconces 60 to 72 inches from the floor to the center of the junction box—or 66 to 72 inches on vaulted ceilings—while avoiding accidental alignment with nearby window frames. Space multiple sconces at least 6 feet apart (8 to 10 feet in large rooms).
How Many Lumens, Kelvin, and CRI Do You Need?
Even an architectural chandelier looks harsh or dingy if the bulbs inside are too dim, too blue, or cast muddy colors. Instead of shopping by watts—which only measure electricity used—check the Lighting Facts label on the bulb box for lumens (brightness) and Kelvin (light appearance), and the packaging for Color Rendering Index (CRI).
Calculating Room Lumens
ENERGY STAR’s LED bulb guide pairs an 800-lumen bulb with the traditional 60-watt incandescent it replaces, and the Department of Energy advises using lumens and the Lighting Facts label to compare bulbs. To estimate how much total light a room needs, multiply the room’s square footage by the Illuminating Engineering Society (IES) foot-candle target for that space:
- Dining rooms: The IES recommends 10 to 20 foot-candles. For a 12-by-15-foot room (180 square feet), multiply 180 by 10 and 20 to get a target range of 1,800 to 3,600 total lumens.
- Kitchens and workspaces: Task-heavy rooms need brighter illumination over counters and islands, which you can supplement with under-cabinet tape lighting.
Choosing Kelvin Color Temperature and CRI
Kichler Lighting’s color temperature guide and the ENERGY STAR LED guide describe two scales for white light:
- Correlated Color Temperature (CCT), measured in Kelvin (K): Lower numbers (Kichler calls 2700K “Warm White” and likens it to candlelight; ENERGY STAR labels 3000K warm as well) produce a warm, yellowish glow, a common choice for living rooms, dining rooms, and bedrooms. Higher numbers (ENERGY STAR’s scale runs from 2200K up to 6500K) look cooler, crisper, and bluer, suited for utility areas or detailed task zones. Whatever temperature you choose, keep the same Kelvin rating across every bulb in the same room so walls and fabrics do not look patchy.
- Color Rendering Index (CRI), measured from 1 to 100: Kichler explains that the higher the CRI, the better the color rendering. Choosing LED bulbs with a high CRI keeps wood tones, paint colors, and food looking rich and natural—a simple upgrade that immediately elevates affordable kitchen upgrades and luxury bathroom features.
How to Layer Statement Lighting Without Blowing Your Budget
Interior designers never rely on a single ceiling fixture to light an entire room. Instead, they combine three layers of light so the statement piece can shine without harsh overhead glare:
- Ambient lighting: Your central chandelier, semi-flush mount, or evenly spaced recessed downlights provide general background illumination. Kichler’s living room guide suggests dividing ceiling height by 2 to estimate spacing between recessed lights, and not going more than 6 feet apart.
- Task lighting: Focused light for reading, cooking, or grooming comes from table lamps, plug-in swing-arm sconces, or under-cabinet strips.
- Accent lighting: Picture lights, floor-uplight cans, or shelf lighting draw attention to artwork, plants, and architectural details.
If you are decorating on a tight budget or renting, you do not need to hardwire every layer. Pair one affordable hardwired ceiling fixture with plug-in wall sconces (using paintable cord covers) and a sculptural arc or tripod floor lamp. You get full three-layer flexibility with zero drywall patching. Look for more zero-renovation styling ideas in our guide to low-cost home upgrade ideas.
Smart Budget Strategies: Where to Splurge and Where to Save
For the same question across a whole house, see which home investments are worth the splurge and which to skip.
You do not need a luxury showroom budget to achieve a custom lighting plan. Allocate your money where the eye goes first and save on supporting hardware:
- Splurge on one hero room, save in secondary rooms: Put your statement fixture budget in the dining room, foyer, or living room where guests spend time, and use clean, simple flush mounts in hallways, closets, and laundry rooms.
- Reuse existing junction boxes: Moving a ceiling box across joists requires drywall repair, electrical fishing, and higher labor bills. If your dining table sits slightly off-center from the existing ceiling box, choose a swag-hook chain chandelier designed to drape cleanly to a new hook point.
- Check ENERGY STAR certification and dimmability: ENERGY STAR’s LED guide starts by choosing the bulb shape that fits your fixture, and ESFI notes that LEDs need to be dimmer compatible. Installing an LED-compatible dimmer switch lets one affordable chandelier shift from bright homework light to soft dinner ambiance, preventing flicker or premature bulb failure.
- Check wet and damp ratings before buying: Bathroom, covered-porch, and laundry fixtures must carry the manufacturer’s UL damp-location or wet-location rating. Dry-rated decorative shades will corrode or fail prematurely in humid spaces.
Electrical Safety Rules Before Swapping Any Fixture or Dimmer
Replacing a light fixture or wall switch involves live household current, so follow strict safety steps—and know when to hand the job to a licensed electrician:
- Turn off power at the main breaker panel, not just the wall switch, and label or lock the panel door so nobody flips it back on.
- Verify the circuit is dead using a non-contact voltage tester at the switch and again at the fixture wires before touching any conductor.
- Follow the fixture manufacturer’s instructions and local electrical code. The National Electrical Code (NEC) is adopted locally with municipal amendments, and heavy chandeliers need a ceiling box rated to support their weight, so check the fixture’s instructions for its weight and box requirements.
- Call a licensed electrician if you spot warning signs. The Electrical Safety Foundation International (ESFI) says to have your home’s electrical system inspected by a qualified electrician if your home is over 40 years old with aluminum wiring and no recent inspection, if a wall plate feels hot to the touch, if lights dim or brighten when appliances cycle on, if you see discoloration around a switch plate, or if you often feel a shock from a switch. ESFI also says light switches should be installed by a professional.
Choosing statement lighting on a budget comes down to discipline: measure the room, respect the 30-inch dining and 7-foot walkway clearances, verify lumens and 2700K–3000K Kelvin ratings on the box, and layer your focal piece with simple task lamps. When the proportions and light quality are right, every piece of furniture underneath looks twice as intentional.
| Space | Recommended Fixture Type | Sizing Formula | Clearance Rule |
|---|---|---|---|
| Dining Room (Round Table) | Round or drum chandelier | Room L + W (ft) = min. diameter (in) | 30 in. above tabletop (+3–6 in. for tall ceilings) |
| Dining Room (Long Table) | Linear chandelier or twin pendants | 1/3 to 1/2 of table length | 30 in. above tabletop (+3–6 in. for tall ceilings) |
| Foyer or Entryway | Open lantern or multi-tier pendant | Room L + W (ft) = min. diameter (in) | Minimum 7 ft (84 in.) above floor |
| Living Room | Central chandelier or sculptural floor lamp | Room L + W (ft) = min. diameter (in) | Minimum 7 ft above floor in walkways |
| Accent Wall / Hallway | Wall sconces | Spaced at least 6 ft apart (8–10 ft in large rooms) | 60–72 in. from floor to junction box center |
Correct scale and mounting height make an affordable fixture look custom-designed, whereas an undersized or poorly hung luxury fixture always looks off.
Frequently asked questions
What makes a light fixture look expensive on a budget?
Proportion, finish consistency, and warm light quality make an affordable fixture look high-end. Choosing a fixture wide enough for the room, sticking to classic finishes like brushed brass, matte black, or opal glass, and installing uniform 2700K–3000K high-CRI LED bulbs creates a curated designer look without luxury pricing.
How do I calculate the right chandelier size for my room?
Add the length and width of your room in feet to find the minimum chandelier diameter in inches, according to Kichler Lighting's planning guide. For example, a 12-by-14-foot room calls for a fixture at least 26 inches wide. For linear chandeliers over a dining table, aim for one-third to one-half of the table's length.
How high should a statement light hang over a dining table?
Hang the bottom of a round or square chandelier 30 inches above the top of your dining table. If you have tall ceilings or a wider table, raise the fixture by 3 to 6 inches. In walkways, foyers, and open living areas, keep at least 7 feet of clearance from the floor.
How many lumens do I need for a statement chandelier?
Multiply your room's square footage by the Illuminating Engineering Society's target foot-candles for that space. For a dining room, the IES recommends 10 to 20 foot-candles, meaning a 12-by-15-foot (180-square-foot) room needs 1,800 to 3,600 lumens total, which you can split across the chandelier and accent lamps.
What color temperature is best for statement lighting in living spaces?
Warm white bulbs between 2700K and 3000K are best for living rooms, dining rooms, and bedrooms because they mimic the cozy glow of traditional incandescent light. Keep the same Kelvin temperature across every fixture in a single room so the light looks balanced and intentional rather than patchy.
Can I replace a ceiling light fixture or dimmer switch myself?
You can swap a basic fixture on an existing junction box if you turn off the breaker, verify the wires are dead with a non-contact voltage tester and at the device, and follow the manufacturer's instructions and local code. ESFI says to have a qualified electrician inspect the system if a home over 40 years old has aluminum wiring, or if a wall plate is hot or lights dim and flicker without cause.
Source notes
- Chandelier Planning and Selecting Tips — Kichler Lighting (kichler.com)
- Living Room Planning and Selecting Tips — Kichler Lighting (kichler.com)
- Choosing The Right Color Temperature — Kichler Lighting (kichler.com)
- Light Layering — Kichler Lighting (kichler.com)
- Light the Moment: Choose the Right LED Bulb — ENERGY STAR (energystar.gov)
- Energy Is Everywhere: Lighting Choices to Save You Money — U.S. Department of Energy (energy.gov)
- Switch to Safety: Home Electrical Warning Signs — Electrical Safety Foundation International (ESFI) (esfi.org)
Related guides
- Budget-Friendly Room Makeover: A Step-by-Step Plan for High-End Style
A step-by-step budget room makeover plan covering budget splits, paint sheens, layered lighting, furniture scaling, and finishing touches.