Affordable Kitchen Upgrades That Look Expensive on a Real Budget
Focus on cabinet paint or door fronts, warm 2700K–3000K LED lighting, proportional hardware, and a clean faucet swap to make a dated kitchen look expensive without gutting it. In Zonda's 2025 Cost vs. Value Report, a midrange minor kitchen remodel averaged $28,458 and recouped 112.9% at resale, outperforming major custom renovations because targeted surface updates appeal to more buyers.
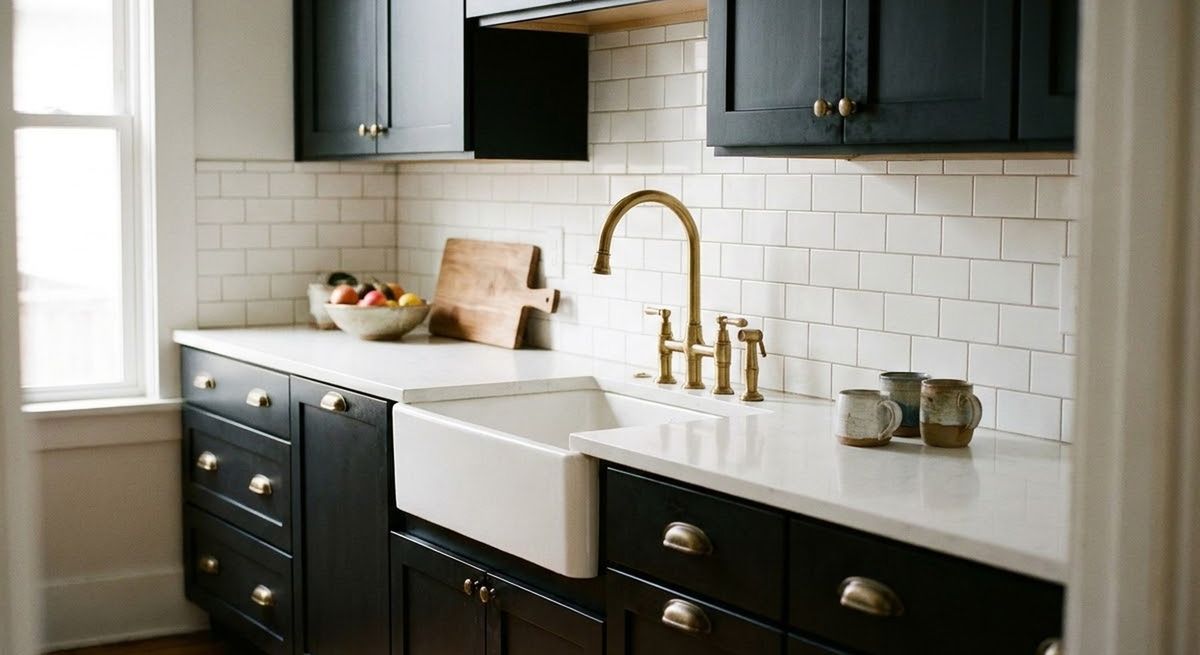
Making a kitchen look expensive on a tight budget comes down to improving the surfaces and fixtures that dominate eye level—cabinet faces, lighting, hardware, and the sink zone—rather than moving walls or plumbing. When your layout already works, targeted cosmetic and fixture updates eliminate visual wear and dated finishes at a fraction of a full remodel’s cost.
That principle is backed by resale data as well as design logic. In Zonda’s 2025 Cost vs. Value Report, published by the Journal of Light Construction, a midrange minor kitchen remodel averaged $28,458 nationwide and returned $32,141 at resale—a 112.9% cost recovery, ranking fifth overall across all tracked projects. In the accompanying 2025 Cost vs. Value key trends analysis, editors call the minor kitchen remodel “a modest kitchen face-lift” and note that “many homebuyers want a kitchen they can live with until they can afford to undertake a more extensive remodel,” while for major remodels “the more complex the project, the lower the return on investment at the time of house sale.”
Why Targeted Kitchen Upgrades Look Expensive
Expensive kitchens look cohesive because every visible surface shares a clear palette, consistent lighting temperature, and proportional hardware. Cheap-looking kitchens rarely fail because of square footage; they look dated when honey-oak doors clash with cool blue LEDs, tarnished brass knobs, and yellowed caulk.
Three visual rules separate a high-end kitchen from a pieced-together one:
- Fewer competing finishes: Limit your visible palette to one dominant cabinet tone, one primary metal finish (or two intentional, repeated metals such as matte black and brushed brass), and one quiet countertop pattern.
- Even, layered light: Overhead glare alone flattens a room and casts shadows on counters. Combining ambient ceiling light with warm under-cabinet task lighting and a scaled island pendant creates depth.
- Clean transitions: Crisp caulk lines at the backsplash, aligned cabinet doors, and consistent sheen levels signal craftsmanship even when the underlying materials are budget-friendly.
For a deeper look at how paint sheens, countertop substrates, and metal plating interact, see our companion guide on high-end kitchen finishes that won’t break the bank.
How to Prioritize Your Kitchen Budget
Address the largest, most worn visual surfaces first, then move to fixtures and styling details. Spending money on decorative accessories while cabinet doors are peeling or under-cabinet shadows remain dark wastes your budget.
Follow this order of operations when planning your upgrades:
- Audit structural condition: Check cabinet boxes, hinges, subflooring, and plumbing shutoff valves. Cosmetic upgrades only make sense over sound bones; water-damaged particleboard or failing supply lines must be repaired first.
- Fix lighting and color temperature: Standardize every bulb in the kitchen to the same Kelvin rating before choosing paint or tile, because light temperature dramatically shifts how whites, grays, and wood tones read.
- Refresh the largest surface (cabinets or walls): Paint or reface worn cabinets, or repaint walls if your cabinetry is already in good shape.
- Upgrade touchpoints: Replace the kitchen faucet, cabinet pulls, and visible outlet covers or dimmers. These are the parts you touch daily, so solid weight and smooth action make the whole room feel newer.
- Finish the perimeter: Re-caulk the sink and backsplash seam, swap dated window treatments, and edit countertop clutter down to daily essentials.
If you are applying this same phased approach across other rooms, our budget-friendly room makeover plan walks through whole-room sequencing and budget splits.
Cabinet Upgrades: Paint, New Doors, or Refacing?
Cabinets occupy the largest vertical footprint in a kitchen, so updating them delivers the single biggest visual shift. Your best choice depends on whether the existing door style is timeless or dated, and whether the boxes are sturdy.
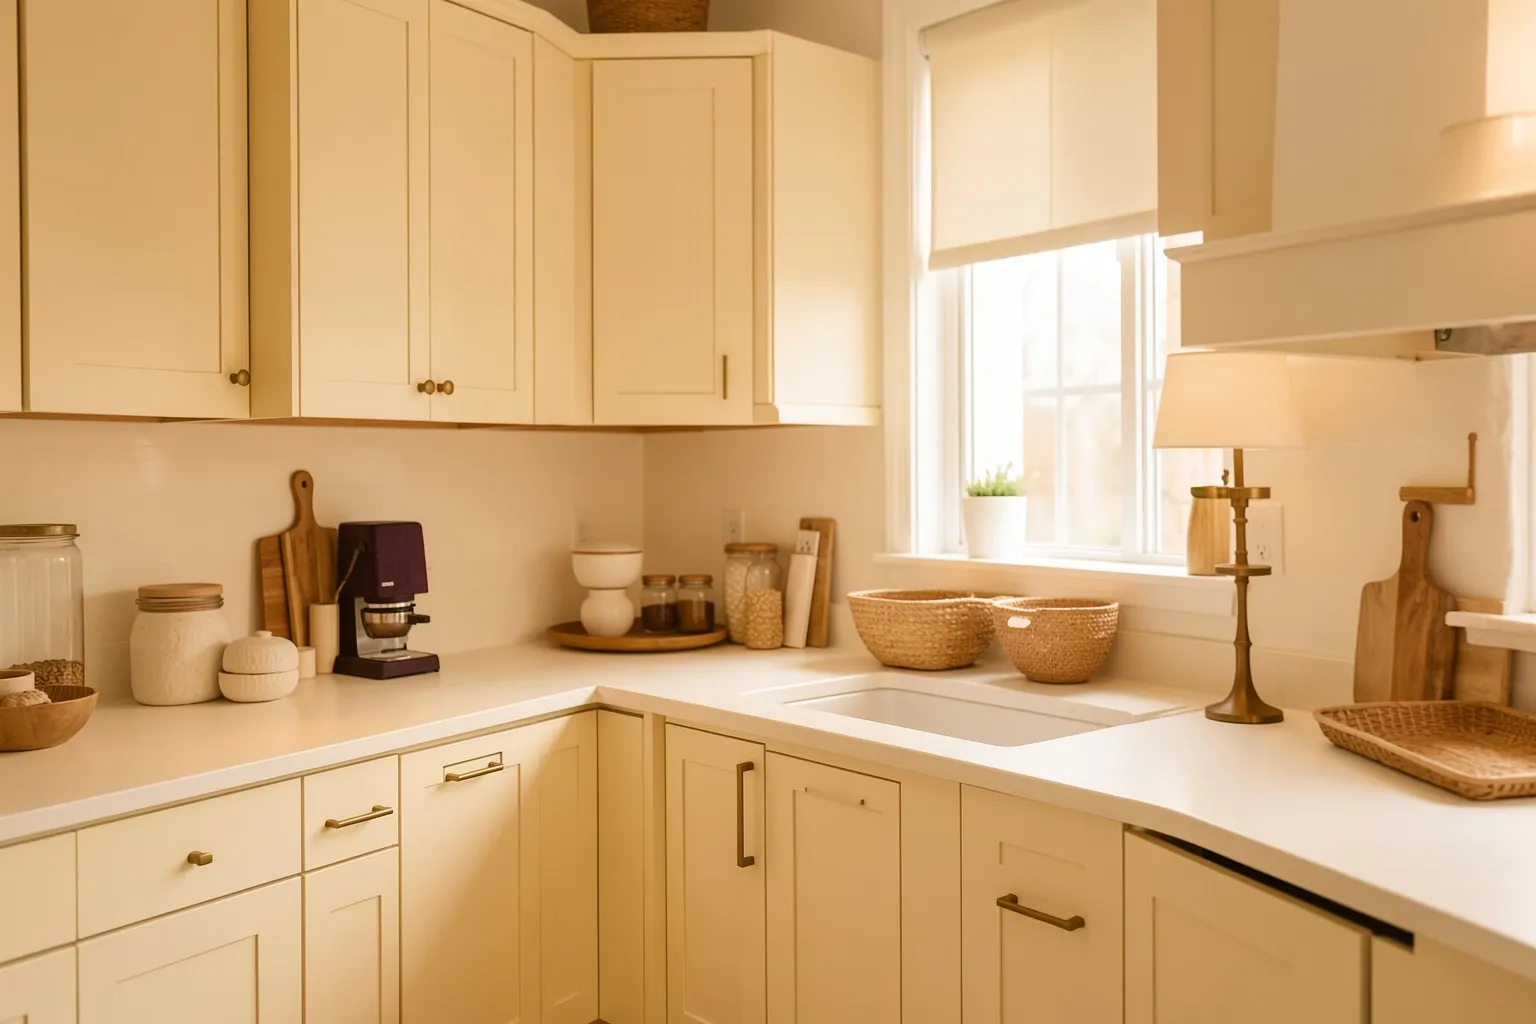
Painting Existing Cabinets
Painting is the lowest-cost path when your doors have a clean profile—such as Shaker or flat slab—and the frames are solid wood or sound, paintable veneer. Cutting corners on prep is the main reason DIY painted kitchens look cheap within a year.
According to Sherwin-Williams’ five-step cabinet painting guide, a durable finish depends on disciplined surface preparation:
- Remove doors, drawers, and hardware: Label every hinge and door location with painter’s tape before disassembly so rehanging stays aligned.
- Degrease thoroughly: Wash all surfaces with a cleaner-degreaser to strip cooking oils that prevent paint adhesion.
- Test and apply bonding primer: Spot-test a high-adhesion bonding primer on an inconspicuous area, then prime the entire surface. Patch dents or old hardware holes with wood filler before priming.
- Respect cure times before sanding: Allow the primer to dry at least 24 hours, then sand lightly with very fine sandpaper to knock down grain raise.
- Apply thin urethane enamel coats: Use a water-based urethane alkyd such as Sherwin-Williams Emerald Urethane Trim Enamel, which Sherwin-Williams says resists yellowing compared to traditional oil-based coatings and creates a hard, durable finish that withstands frequent cleaning.
Because indoor paint and solvent concentrations can rise significantly during a multi-day project—the U.S. EPA notes that concentrations of many VOCs are consistently higher indoors, up to ten times higher, than outdoors—choose low- or zero-VOC coatings and ventilate the kitchen continuously during application and curing.
Replacing Doors and Drawer Fronts
If your cabinet boxes are plywood or sturdy particleboard in good condition, ordering replacement doors and drawer fronts upgrades an arched-oak 1990s profile to crisp Shaker or slab doors without tearing out the kitchen. Pair new doors with concealed European soft-close hinges so doors close quietly and align cleanly across gaps.
Full Cabinet Refacing
Cabinet refacing pairs new doors and drawer fronts with matching wood veneer or rigid thermofoil applied over the visible face frames and end panels. It costs more than painting and usually requires a pro for clean veneer seams, but it delivers a uniform factory finish when existing frames are scratched or mismatched.
High-Impact Lighting Upgrades on a Budget
Lighting changes how every other surface in your kitchen looks, and upgrading bulbs and fixtures is one of the fastest ways to make a builder-grade kitchen feel custom. Focus on color consistency, CRI, and layered placement.
Standardize Color Temperature and CRI
Mismatched bulbs—one cool daylight bulb over the sink and warm bulbs in the ceiling—make any room look unsettled. Under ENERGY STAR solid-state lighting criteria, residential indoor LED luminaires are certified at warm white color temperatures including 2700K, 3000K, and 3500K, with a residential L70 rated life of 25,000 hours.
- 2700K (Warm White): Best for kitchens with warm wood cabinets, brass hardware, or open sightlines into a living room.
- 3000K (Soft White): Slightly crisper without turning blue; ideal for white, sage, or charcoal cabinets and marble-look counters.
- High CRI (90+): Look for bulbs rated 90 CRI or higher over prep zones and islands so produce, wood grain, and stone veining look true rather than washed out.
Add Under-Cabinet Task Lighting and Island Pendants
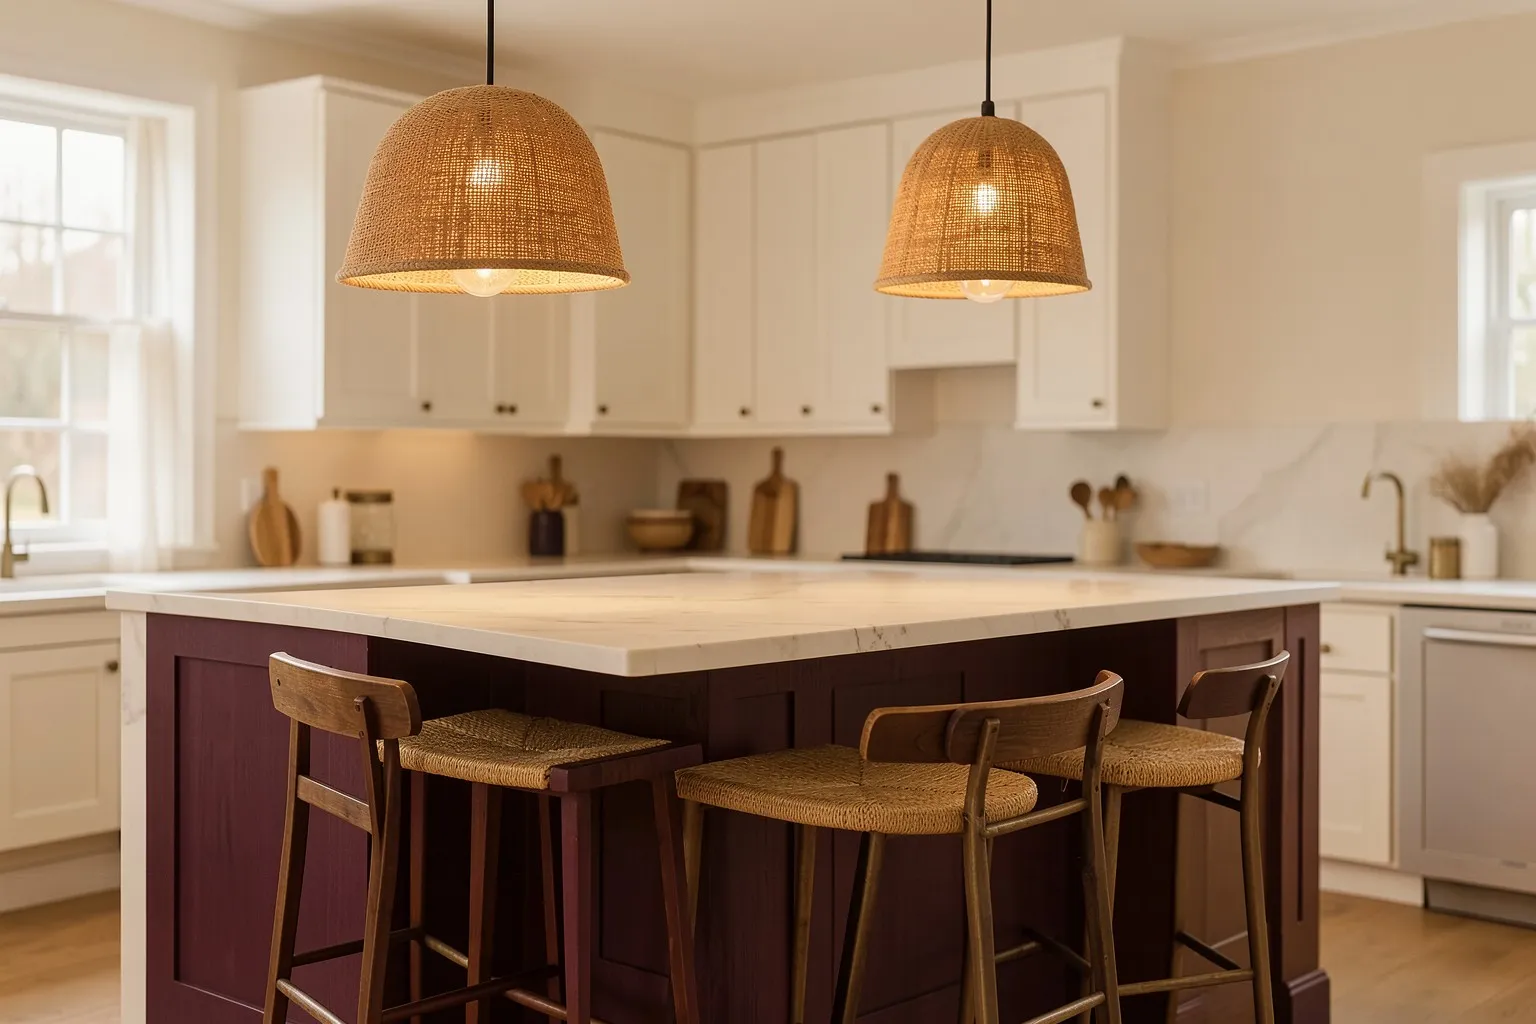
Plug-in or hardwired LED light bars mounted toward the front lip of upper cabinets eliminate dark shadows on the backsplash and countertop. Over an island or peninsula, swapping a single dated flush-mount for two or three scaled pendants creates an architectural focal point. For guidance on fixture proportions and layering across rooms, see our statement lighting selection guide.
Electrical safety rule: Before replacing any hardwired light fixture, switch, or dimmer, turn off the circuit breaker, verify the circuit is dead with a non-contact voltage tester and test again at the device terminals, and follow the fixture manufacturer’s instructions and local electrical code. Under National Electrical Code (NEC) Section 210.8(A), 125V–250V receptacles serving kitchen countertop surfaces require Ground-Fault Circuit Interrupter (GFCI) protection. Always hire a licensed electrician if you need to add a new junction box, run wiring inside walls, or upgrade receptacles.
Hardware Swaps: Small Details, Immediate Payoff
Replacing undersized or dated knobs with heavier, proportional pulls updates the tactile feel of every drawer and door in an afternoon. Hardware is one of the few upgrades you can install with a screwdriver and a drilling template.
Follow these practical sizing and placement habits for a custom look:
- Match existing hole spacing when possible: Measure center-to-center distance (common standards are 3 inches, 3-3/4 inches, or 5 inches) before ordering pulls if you want to avoid filling and re-drilling finished doors.
- Scale pulls to drawer width: Use wider pulls (or two pulls on wide pot drawers) so hardware looks balanced rather than dainty.
- Use a metal drilling jig: Even a 1/16-inch drift between adjacent doors stands out immediately. Lock a reusable template against the rail and stile before drilling.
- Choose durable plated finishes: Physical Vapor Deposition (PVD) finishes on brass and nickel hardware resist tarnishing and daily hand wear far better than thin lacquer coatings.
Faucet, Sink, and Countertop Refreshes
A tall, high-arc pull-down faucet and a crisp countertop edge anchor the hardest-working zone in the kitchen. Even if you keep your existing sink and counters, refreshing the faucet and caulk line immediately cleans up the workspace.
Upgrading the Kitchen Faucet
Look for a solid-brass body, ceramic disc cartridge, and a braided supply line kit. Check the flow rate specification—the federal maximum flow rate for kitchen faucets is 2.2 gpm at 60 psi (U.S. EPA WaterSense at Work, citing 10 CFR 430.32), and many models flow less to cut hot-water use. If your sink is stained cast iron or scratched stainless steel, a drop-in or undermount replacement requires matching cutout dimensions and shutoff valves in working order; consult a licensed plumber if supply stops are corroded or you are altering drain plumbing.
Budget Countertop Alternatives That Look Custom
Replacing solid stone is one of the costliest kitchen line items, so consider lower-cost alternatives when your existing counters are damaged:
- Matte high-pressure laminate: Today’s matte and stone-textured laminates avoid the shiny, plastic look of older Formica. Per Wilsonart’s technical data, general-purpose grade 107 laminate measures 0.048 inches thick and postforming grade 350 measures 0.039 inches, allowing clean, tight-radius edges that mimic slab stone.
- Butcher block: Solid wood counters add warmth to painted cabinets and can be cut on-site for straight runs, provided you seal all six sides—especially around the sink cutout—to prevent moisture warping.
- Stone remnants: For a small island or coffee bar, local stone fabricators often sell leftover slabs of quartz or marble at a discount. Keep in mind that Natural Stone Institute care guidance says products with lemon, vinegar or other acids may dull or etch calcareous stone such as marble, recommends a neutral cleaner or mild dish detergent, and notes that sealing makes stone more stain resistant, not stain proof.
Backsplash and Open Shelving Updates
A clean backsplash and uncluttered open shelving add architectural texture without requiring cabinet replacement. Both projects reward careful layout and proper mounting.
Backsplash Options: Ceramic Tile vs. Peel-and-Stick
Classic ceramic subway tile or matte zellige-look porcelain tile paired with narrow, color-matched grout lines looks timeless and withstands heat and steam behind a range. If you use peel-and-stick vinyl or aluminum tiles as a temporary renter-friendly update, check the manufacturer’s clearance rating around gas or electric cooktops—many adhesive tiles cannot sit directly behind high-heat burners.
Installing Open Shelving Safely
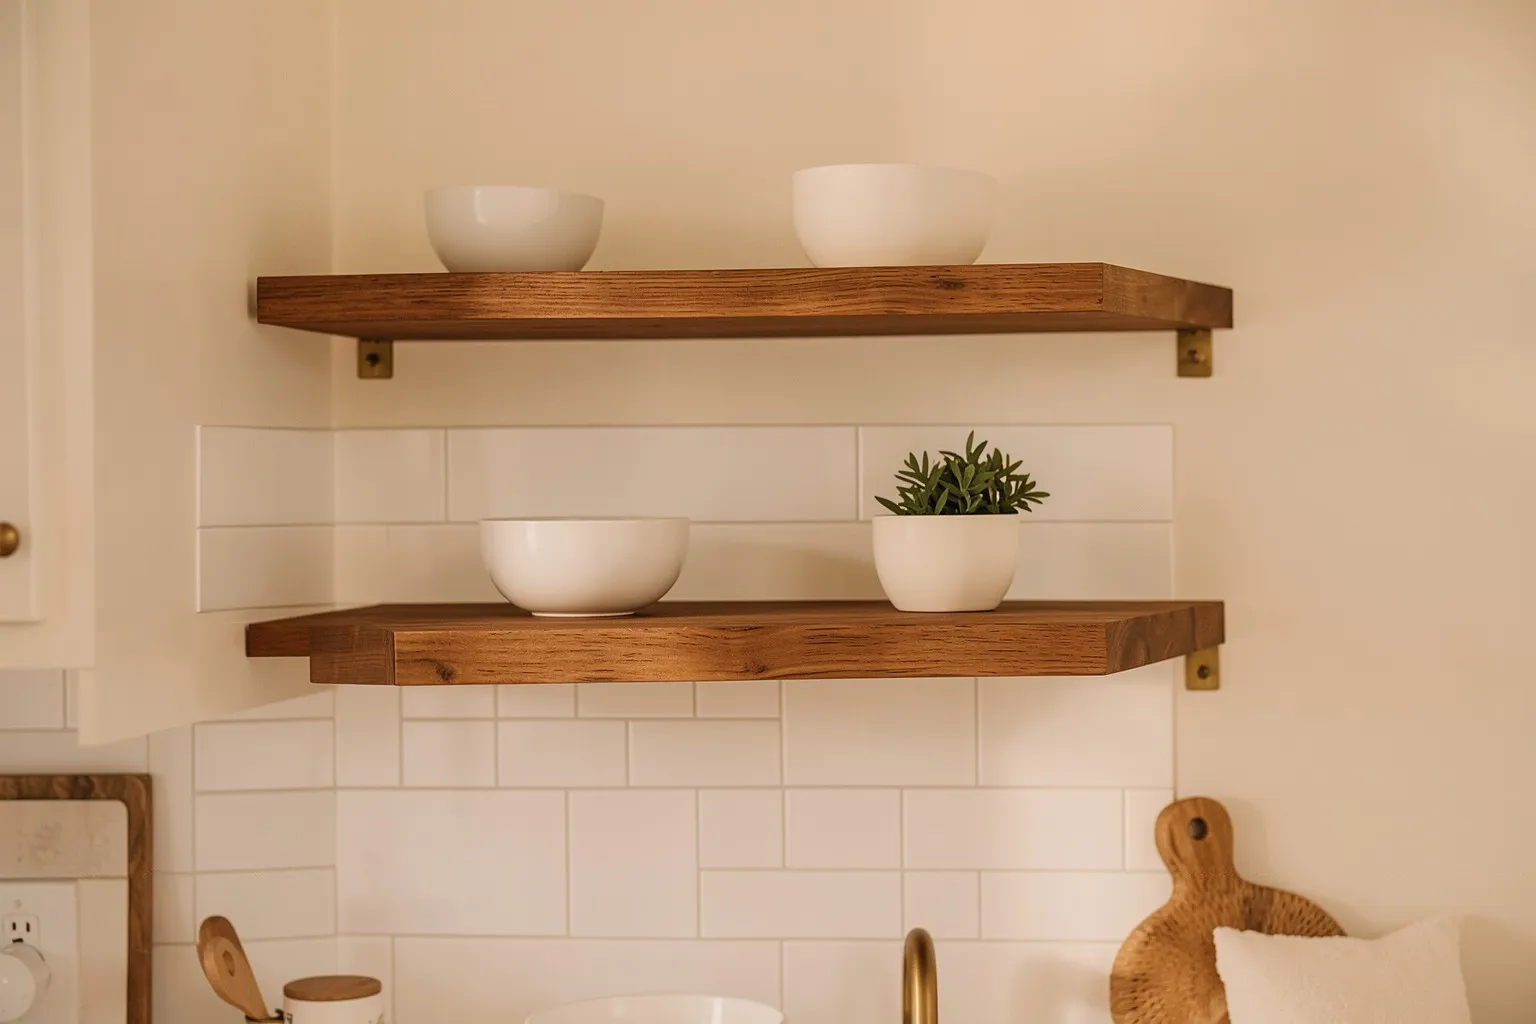
Replacing one run of upper cabinets with two thick wood shelves opens up tight sightlines, as long as you curate what stays on display. Anchor heavy-duty steel brackets directly into wall studs with structural lag screws rather than drywall anchors alone, and keep everyday dishes in matching neutral stacks so shelves look intentional rather than crowded.
Small-Kitchen and Renter-Friendly Budget Upgrades
Compact galley kitchens and rental apartments still benefit from high-end design discipline, even when you cannot paint cabinets or replace hardwired fixtures. Focusing on reversible, zero-damage updates keeps your security deposit intact while eliminating visual clutter.
- Swap cabinet hardware and save the originals: Unscrew dated knobs, store them in a labeled zip bag inside a drawer, and install heavier matte-black or brushed-brass pulls using the exact existing hole spacing.
- Add plug-in under-cabinet LED bars: Thin LED strips mounted with removable adhesive clips or hidden screws plug into a standard countertop GFCI outlet and instantly brighten dark laminate counters.
- Use a washable flatweave runner: A low-pile cotton or indoor-outdoor runner in a muted pattern softens builder-grade vinyl or tile floors and catches prep spills.
- Upgrade freestanding storage: A narrow rolling butcher-block cart or matching glass canisters for dry staples replaces mismatched packaging with warm texture.
Weekend Upgrade Timeline: 48-Hour Kitchen Reset
Grouping your tasks in the right order prevents wet paint, caulk dust, or fixture debris from ruining finished surfaces. Here is a realistic two-day sequence for an under-$500 cosmetic refresh:
- Saturday morning — Strip and clean: Remove old cabinet pulls, wipe down cabinet fronts with a degreaser, scrape away yellowed sink caulk, and swap all ceiling and pendant bulbs to matching 2700K or 3000K LEDs.
- Saturday afternoon — Hardware and plumbing: Drill or install new cabinet hardware with a template, thread on a new kitchen faucet or low-flow aerator, and check shutoff valves for drips.
- Sunday morning — Lighting and caulk: With the breaker off and verified dead, swap an existing dated pendant or install plug-in under-cabinet light bars, then lay a crisp bead of silicone caulk along the sink and backsplash seam.
- Sunday afternoon — Edit and style: Return only daily-use items to the counter, add a wood cutting board leaning against the backsplash, and group dish soap and hand soap on a small stone or wood tray.
Kitchen Finishes and Material Selection
Choosing the right upgrade tier is only half the equation; pairing the right paint sheen, metal finish, and stone or laminate texture keeps the room cohesive years after installation. For a complete breakdown of cabinet enamel sheens, countertop substrates, backsplash grout choices, and metal finish durability, read our dedicated high-end kitchen finishes guide.
Not sure whether to paint, reface or replace? See what each option costs per linear foot, then enter your own kitchen in the cabinet refacing cost estimator.
Mistakes That Make Budget Kitchen Upgrades Look Cheap
Even expensive materials look sloppy when installation details or proportions are off. Watch for these five common pitfalls:
- Skipping degreasing and primer: Painting directly over kitchen grease leads to peeling around pulls and the dishwasher vent within months.
- Mixing bulb temperatures: Combining 2700K pendants with 5000K recessed cans makes white cabinets look dingy in one corner and stark blue in another.
- Leaving old caulk and grout: Yellowed silicone around the sink and cracked grout at the counter-to-wall joint undermine fresh paint and new hardware.
- Over-accessorizing counters: Leaving appliances, utensil crocks, and decor across every inch of counter hides new surfaces; clear most of the counter run so the surfaces read as clean.
- Ignoring floor slip safety: If your upgrade includes new kitchen floor tile, look for a wet Dynamic Coefficient of Friction (DCOF) of at least 0.42, which the Ceramic Tile Education Foundation’s Scott Carothers describes as the minimum wet DCOF AcuTest value the tile standard now requires for ceramic tile in level interior spaces expected to be walked on when wet, so spills don’t create a slip hazard.
Once your kitchen updates are complete, you can carry the same finish discipline into your guest bathroom finishes or tackle quick, single-item refreshes across the house with our cheap ways to upgrade your home.
| Upgrade Tier | Primary Scope | DIY Suitability | Best For |
|---|---|---|---|
| Under-$500 Weekend Refresh | Hardware swap, LED bulbs, caulk/grout refresh, under-cabinet light bars | High (no plumbing or hardwiring) | Renters, pre-listing touch-ups, structurally sound kitchens |
| Targeted Surface Update | Cabinet painting, pull-down faucet, backsplash tile, pendant swap | Moderate (follow electrical/plumbing safety) | Dated 1990s–2000s kitchens with good layout and boxes |
| Minor Kitchen Remodel (Midrange) | Cabinet refacing/fronts, new counters, sink/faucet, appliances, flooring | Low (typically licensed trade work) | Homes needing full surface replacement ($28,458 avg. in 2025) |
Start with the under-$500 hardware, lighting, and caulk tier if your cabinet boxes and counters are intact; step up to cabinet painting and a faucet or backsplash update only where surfaces are visibly worn.
All Kitchen Budget Upgrades guides
- Cabinet Refacing vs Painting vs Replacing: What Each Costs
What cabinet refacing, painting and replacing cost per linear foot in 2026, when each one works, and a free estimator to price your kitchen.
- High-End Kitchen Finishes That Won't Break the Bank: Material & Sheen Guide
How to choose high-end kitchen finishes on a budget, comparing cabinet paint sheens, laminate vs. stone counters, PVD hardware, and tile.
Frequently asked questions
What affordable kitchen upgrades make the biggest visual difference?
Updating cabinet doors or paint, swapping dated hardware, and improving lighting deliver the largest visual return because they cover the widest sightlines in the room. Replacing mismatched bulbs with consistent 2700K or 3000K LEDs and aligning cabinet pulls removes visual clutter immediately. When cabinet boxes are structurally sound, a thorough degrease, bonding primer, and urethane trim enamel cost far less than new cabinetry while giving the kitchen a crisp, intentional look.
Do budget kitchen upgrades add resale value?
Targeted, modest kitchen updates consistently outperform full custom gut jobs on percentage of cost recouped. According to Zonda's 2025 Cost vs. Value Report, a midrange minor kitchen remodel averaged $28,458 and recouped 112.9% of its cost at resale. As the Journal of Light Construction notes, the more complex the project, the lower the return at sale, and buyer-specific selections can be less appealing to a wide range of homebuyers.
Should I paint or reface my kitchen cabinets on a budget?
Paint your cabinets when the door style is clean and the wood or paintable veneer is in solid condition, and choose refacing when the door profile itself looks dated or warped. Painting requires several days of prep—removing doors, degreasing, priming, sanding after 24 hours, and applying thin enamel coats—but keeps material costs low. Refacing replaces doors, drawer fronts, and box veneers for a factory-new profile at a higher price.
What color temperature LED bulbs look best in a kitchen?
Warm white LEDs at 2700K or 3000K work best in most residential kitchens because they render wood tones, brass hardware, and food naturally without looking sterile. ENERGY STAR solid-state lighting criteria certify residential indoor luminaires in 2700K, 3000K, and 3500K. Choose 2700K if your kitchen opens into a cozy living room, or 3000K for crisp task visibility over white or gray countertops.
Can I install a new kitchen pendant light or under-cabinet fixture myself?
Replacing an existing fixture on a switched ceiling box or plugging in LED light bars is manageable for a careful homeowner, while adding new circuits or relocating junction boxes requires a licensed electrician. Before touching any hardwired fixture, shut off the breaker, verify the circuit is dead with a non-contact voltage tester and again at the device, and follow the manufacturer's instructions and local electrical code.
What is the best budget-friendly kitchen countertop option that still looks high-end?
High-pressure laminate in a matte stone look, sealed butcher block, and entry-level quartz remnants offer the strongest balance of appearance and cost. Modern postforming and general-purpose laminates from manufacturers like Wilsonart provide durable, stain-resistant surfaces without stone fabrication labor. If you choose natural stone such as marble, clean it with a neutral stone cleaner and avoid acids such as lemon or vinegar, which can etch calcareous stone.
Source notes
- 2025 Cost vs. Value Report: National Averages (Kansas City / National Comparison) (jlconline.com)
- 2025 Cost vs. Value Report: Key Trends — Journal of Light Construction (jlconline.com)
- How To Paint Your Kitchen Cabinets in 5 Easy Steps — Sherwin-Williams (sherwin-williams.com)
- Emerald Urethane Trim Enamel Product Details — Sherwin-Williams (sherwin-williams.com)
- ENERGY STAR Solid-State Lighting (SSL) Criteria for Manufacturers (energystar.gov)
- NFPA Standards Council Minutes — NEC Section 210.8(A) GFCI Protection (content.nfpa.org)
- WaterSense at Work: Kitchen Faucets — U.S. EPA (archived) (19january2017snapshot.epa.gov)
- Volatile Organic Compounds' Impact on Indoor Air Quality — U.S. EPA (epa.gov)
- Wilsonart Basic Laminate Technical Data (wilsonart.com)
- Care & Cleaning of Natural Stone — Natural Stone Institute (naturalstoneinstitute.org)
- Tile Letter — DCOF Rating Requirements for Interior and Exterior Tile (tileletter.com)
Related guides
- Cabinet Refacing vs Painting vs Replacing: What Each Costs
What cabinet refacing, painting and replacing cost per linear foot in 2026, when each one works, and a free estimator to price your kitchen.
- High-End Kitchen Finishes That Won't Break the Bank: Material & Sheen Guide
How to choose high-end kitchen finishes on a budget, comparing cabinet paint sheens, laminate vs. stone counters, PVD hardware, and tile.