Cheap Ways to Upgrade Your Home: Single-Swap Luxury Looks on a Budget
The fastest cheap ways to upgrade your home are single-swap projects you touch or see every day: replacing mismatched bulbs with 2700K–3000K LEDs, installing dimmer switches, swapping builder-grade door levers and cabinet pulls, refreshing caulk and grout, and installing a WaterSense faucet aerator or showerhead. Each swap takes under two hours and elevates your home without a full renovation.
This is part of: Budget-Friendly Room Makeover: A Step-by-Step Plan for High-End Style
You do not need a full renovation—or even a full weekend—to make your home feel sharper and more expensive. If you are planning a complete top-to-bottom refresh of one space, start with our budget-friendly room makeover pillar guide; if you just want fast, isolated wins you can knock out one afternoon at a time, these single-swap upgrades target the lights, hardware, and edges your family and guests notice every day.
Each upgrade below works independently, requires minimal tools, and replaces worn builder-grade basics with finishes that look intentional.
1. Standardize Every Light Bulb to 2700K or 3000K
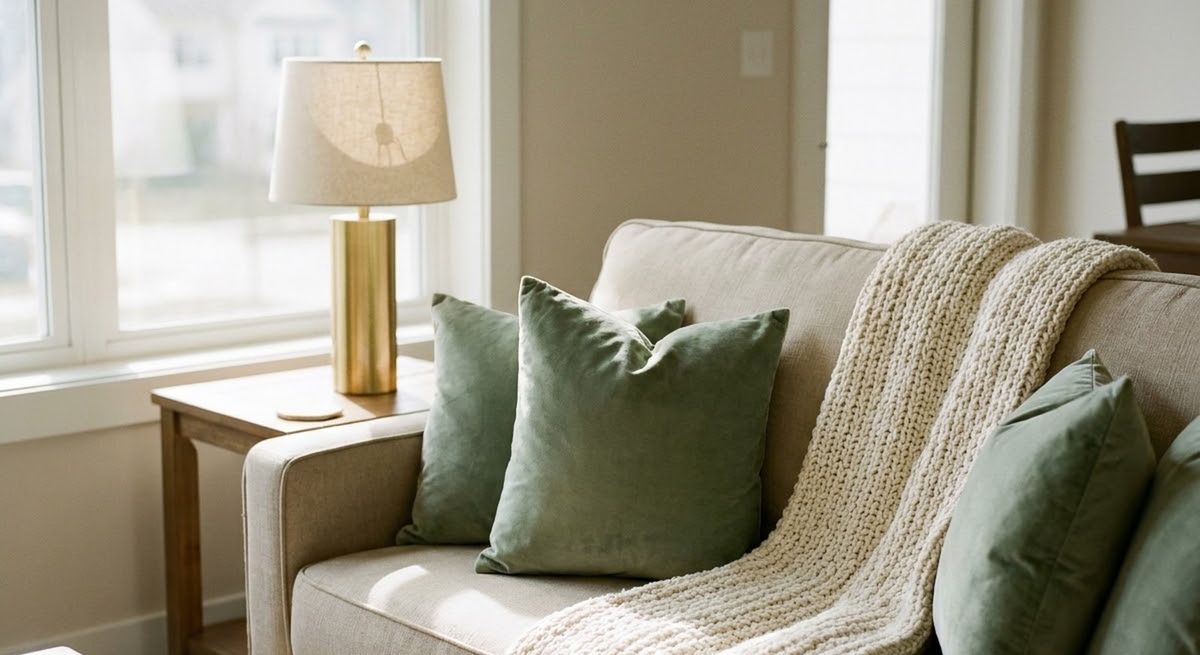
Mismatched light bulbs—a cool blue bulb in a hallway next to a warm bulb in a table lamp—make even freshly painted rooms look disjointed. Swapping every bulb in sight to the same color temperature takes 15 minutes and immediately calms the visual tone of your home.
Under ENERGY STAR solid-state lighting criteria, residential indoor LEDs are certified in warm white temperatures including 2700K and 3000K with a 25,000-hour rated life. Choose 2700K for living rooms and bedrooms, 3000K for crisp kitchens and baths, and look for 90+ CRI packaging so wood, fabric, and wall colors look rich. For help pairing bulb warmth with fixture scale, see our statement lighting guide.
2. Add LED Dimmer Switches and Crisp Wall Plates
Builder-grade toggle switches lock every room at full brightness, which flattens shadows at night. Installing an LED-compatible dimmer switch lets you dial overhead chandeliers, kitchen pendants, and dining fixtures down to a warm evening glow, while swapping paint-splattered plastic plates for clean screwless white or metal plates tidies every wall.
Electrical safety rule: Before replacing any dimmer, switch, or receptacle cover involving wiring, turn off the circuit breaker, confirm the circuit is dead with a non-contact voltage tester and test again at the device terminals, and follow the dimmer manufacturer’s instructions (confirming your bulbs are dimmable LEDs) and local electrical code. Under NEC Section 210.8(A), receptacles in bathrooms and serving kitchen countertops require GFCI protection—hire a licensed electrician if you are unsure about wiring or upgrading to GFCI outlets.
3. Swap Builder-Grade Knobs for Heavy Levers and Pulls
You touch interior door hardware and cabinet pulls dozens of times a day. Lightweight, rattly brass-plated knobs from the 1990s instantly date a hallway, whereas solid-feeling matte black, satin nickel, or brushed brass levers make every door close with satisfying weight.
When choosing new hardware for kitchens, baths, or closets, look for Physical Vapor Deposition (PVD) finishes on brass and nickel pieces—as Kohler’s Tone faucet brochure states for its own PVD finishes, they are designed to resist scratches, corrosion, and tarnishing. Measure existing bore holes and pull center-to-center spacing first so new hardware drops into place with just a screwdriver.
4. Refresh Cracked Caulk and Scuffed Trim
Nothing makes a room look older than yellowed silicone around a tub, separated caulk along a kitchen backsplash, or dark scuffs along white baseboards. Stripping failing caulk with a plastic scraper or utility knife, wiping with rubbing alcohol, and laying a thin, smooth bead of fresh paintable acrylic-latex caulk (along trim) or 100% silicone (around sinks and tubs) restores crisp architectural lines in an hour.
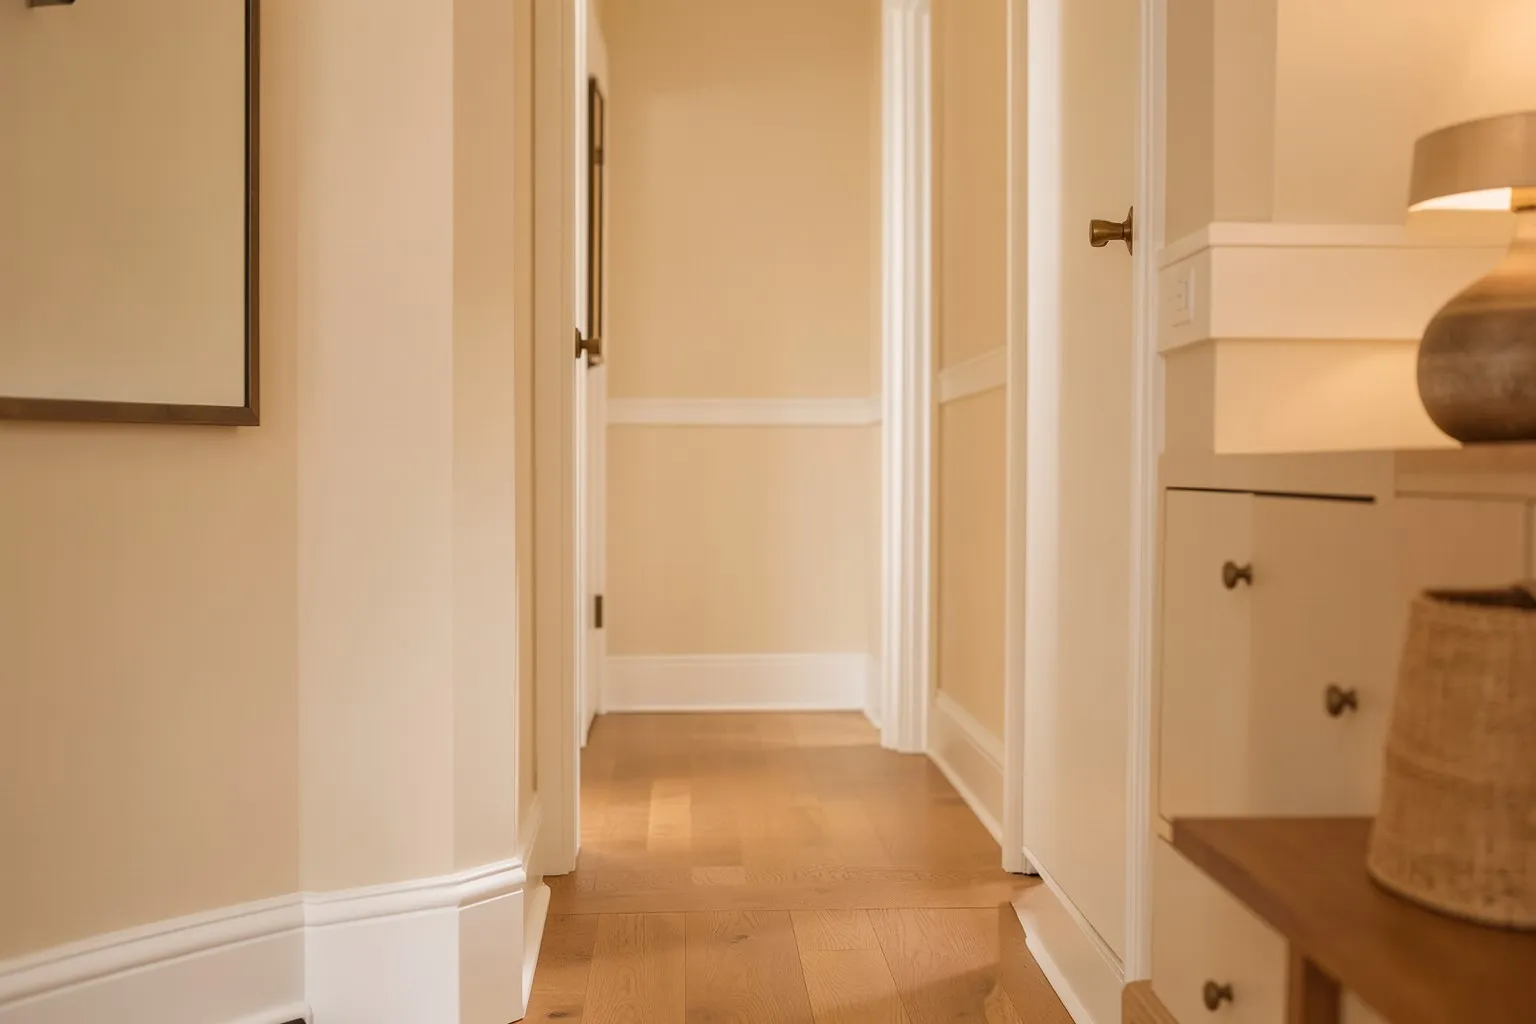
If baseboards or interior doors look dingy, a fresh coat of satin or semi-gloss Sherwin-Williams Emerald Urethane Trim Enamel creates a hard, durable finish for frequently cleaned areas, per Sherwin-Williams—and as the sheen guide explains, high-sheen or glossy surfaces are typically easier to keep clean.
5. Upgrade Bathroom Aerators and Showerheads
Plumbing fixtures do not require a full bathroom demo to feel better. Unscrewing an old, mineral-clogged bathroom aerator or showerhead and threading on a modern EPA WaterSense-labeled model takes minutes and upgrades daily routines. WaterSense showerheads cap flow at 2.0 gpm (20% less than standard 2.5 gpm units) while meeting independently certified spray-force, spray-coverage, and pressure-compensation criteria, and WaterSense bathroom faucet aerators cap flow at 1.5 gpm (at least 30% less than the 2.2 gpm standard). For more quick bath swaps, see our under-$500 hotel bathroom guide.
6. Hide Tangle Cords and Anchor Heavy Furniture
Exposed power strips, dangling TV cables, and leaning bookcases create instant visual noise in any living room or bedroom. Routing cords through paintable wall cord channels and securing flat-screen TVs and tall storage units to the wall with rated anti-tip hardware (per the hardware instructions)—as urged by the U.S. Consumer Product Safety Commission (CPSC)—makes your media wall look sleek and keeps your household safer at the same time.
7. Swap Small Details: Curtain Rods, Switch Plates, and House Numbers
If you still have an hour left on the weekend, three small swaps punch well above their price:
- Extend curtain rods wider: Replace narrow rods that crowd window trim with wider brackets so panels frame the glass rather than blocking daylight.
- Update interior register covers: Swapping bent, painted-over floor vents for clean matte-black or crisp white steel registers tidies hallways and living rooms.
- Refresh entry hardware: Polished or matte-black house numbers and a clean doormat set an intentional tone before guests even step inside.
8. Organize Entryway and Mudroom Drop Zones
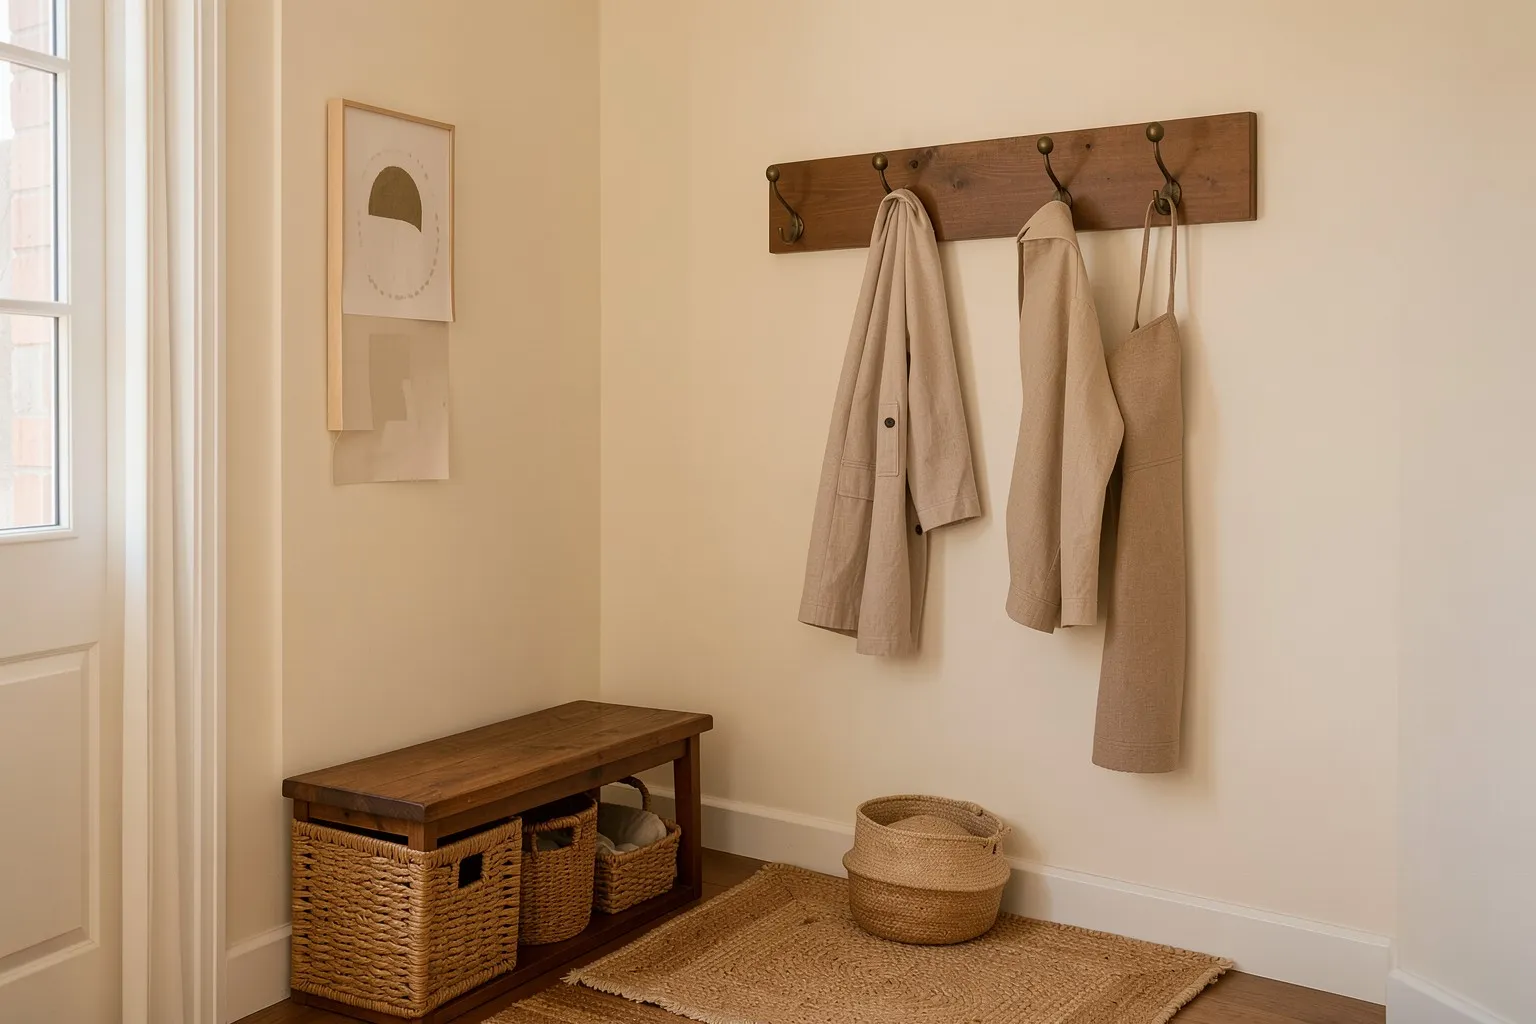
The front entry sets the tone for the entire home, and clutter right inside the door makes even renovated rooms feel chaotic. Installing a clean row of solid-metal wall hooks into studs or heavy-duty anchors, tucking a narrow woven basket underneath for shoes, and hanging a framed mirror above a slim console gives keys, bags, and coats a dedicated home in under an hour.
9. Refresh Door Hinges, Stops, and Window Sills
Scuffed window sills and paint-encrusted door hinges are tiny eyesores that add up across a hallway. Swapping mismatched brass hinges one at a time for crisp matte-black or satin-nickel hinges—and replacing bent spring door stops with clean solid-metal stops—gives doors a quiet, finished look. A quick wipe-down and touch-up coat of satin trim enamel on sunny window sills restores crisp white edges without repainting whole rooms.
How to Pick Your First Single-Swap Project
When every room has a small wish list, start with the swap that fixes the biggest daily annoyance or improves the widest sightline:
- Lighting first: Standardize 2700K–3000K LED bulbs and add a dimmer in your main living or dining space—nothing changes a home’s evening mood faster.
- Wet rooms second: Re-caulk around the kitchen sink and guest tub, and thread on a WaterSense showerhead or 1.5 gpm faucet aerator.
- Touchpoints third: Replace the front entry handle, primary bathroom hardware, and the most-used interior door levers so everything you grab feels solid.
- Edges and cords last: Conceal dangling TV cables, anchor heavy bookcases, and swap bent floor registers for clean steel covers.
Renter-Friendly Swaps You Can Take With You
Even if you rent and cannot paint trim or swap hardwired dimmers, you can still complete high-impact single swaps without risking your security deposit. Store every original fixture in a labeled bag in a closet so move-out restoration takes minutes:
- Plug-in smart dimmers and warm bulbs: Plug table and floor lamps into cord-mounted or smart plug-in dimmers fitted with 2700K LEDs to get custom mood lighting with zero wiring.
- Cabinet pulls and WaterSense showerheads: Both thread off cleanly with a screwdriver or adjustable wrench when you move.
- Cord channels and non-damaging hooks: Conceal media wires with removable adhesive cable tracks, and swap worn shower curtains and bath mats for crisp hotel-style linens.
Small-Swap Mistakes That Waste Money
Keep your budget focused by avoiding three common shortcuts: buying ultra-cheap thin-plated hardware that chips around keyholes, mixing 2700K and 5000K bulbs in adjacent fixtures, and applying fresh caulk directly over moldy or peeling silicone without scraping and cleaning the joint first.
Quick Tool Kit for Single-Swap Home Upgrades
Having a small set of basic tools ready turns most single-swap projects into 30-minute wins without extra hardware-store trips:
- Non-contact voltage tester and insulated screwdriver: Essential before touching any switch, dimmer, or light fixture, alongside turning off the breaker and verifying dead at the device.
- Adjustable wrench and PTFE thread tape: Everything you need to swap a WaterSense showerhead or bathroom faucet aerator without scratching the finish (wrap the wrench jaws in a cloth).
- Utility knife, plastic scraper, and silicone smoothing tool: Makes stripping old tub or sink caulk and tooling a crisp new bead fast and tidy.
- Tape measure, level, and stud finder: Keeps curtain rods, entry hooks, and furniture anti-tip anchors level and structurally secure.
Once you have knocked out a few single swaps, carry that momentum into the 7 finishing touches that make any room look expensive or plan targeted affordable kitchen upgrades.
| Single-Swap Upgrade | Time Required | DIY Difficulty | Biggest Visual Payoff |
|---|---|---|---|
| Standardize 2700K–3000K LEDs | 15–30 minutes | Easy (no wiring) | Removes harsh blue glare across every room |
| Install LED Dimmer Switches | 30–45 minutes | Moderate (follow electrical safety) | Turns overhead lights into warm evening ambiance |
| Swap Door Levers & Cabinet Pulls | 1–2 hours | Easy (screwdriver) | Upgrades daily touchpoints with solid metal feel |
| Re-Caulk Tubs, Sinks & Trim | 1–2 hours | Easy (utility knife + caulk gun) | Makes old tile and woodwork look crisp and new |
| Install WaterSense Aerators / Showerhead | 15–30 minutes | Easy (adjustable wrench) | Improves spray feel while cutting water waste |
Start with matching 2700K–3000K LED bulbs and fresh caulk lines—they cost little, require zero wiring, and immediately clean up every room.
Frequently asked questions
What are the cheapest home upgrades that actually look expensive?
Standardizing warm 2700K or 3000K LED bulbs, replacing cracked sink and baseboard caulk, painting scuffed interior doors in satin enamel, and swapping flimsy knobs for heavier metal levers or pulls deliver the highest return for minimal cost. Because these updates target light quality, crisp edges, and daily touchpoints, guests perceive the whole home as better maintained.
Do I need a full room makeover to make my house look nicer?
No. If your walls, floors, and core furniture are already in good condition, isolated single-swap upgrades—like adding LED dimmer switches, swapping builder-grade knobs for solid levers, installing a WaterSense showerhead, or refreshing cracked sink caulk—can noticeably sharpen a room in an afternoon without repainting or rearranging furniture.
Are dimmer switches easy to install myself?
Replacing an existing single-pole switch with an LED-compatible dimmer is straightforward if you turn off the breaker, verify the wires are dead with a non-contact voltage tester and at the device terminals, and follow the dimmer manufacturer's instructions and local electrical code. Hire a licensed electrician for three-way circuits, aluminum wiring, or crowded electrical boxes.
What finishes last longest on budget hardware and faucets?
Look for Physical Vapor Deposition (PVD) finishes on brushed brass and brushed nickel plumbing fixtures, or quality powder-coated matte black on solid-metal door levers and cabinet pulls. Kohler states that its PVD finishes are designed to withstand everyday use and resist scratches, corrosion, and tarnishing.
How much water does a simple showerhead or aerator swap save?
Swapping a standard 2.5 gpm showerhead for an EPA WaterSense-labeled 2.0 gpm model cuts shower water flow by 20%, while a WaterSense 1.5 gpm bathroom faucet aerator cuts sink flow by at least 30% compared to a standard 2.2 gpm faucet—without sacrificing spray performance.
Source notes
- ENERGY STAR Solid-State Lighting (SSL) Criteria for Manufacturers (energystar.gov)
- WaterSense Showerheads — U.S. EPA (epa.gov)
- WaterSense Bathroom Faucets — U.S. EPA (epa.gov)
- Differences Between Paint Sheens — Sherwin-Williams (sherwin-williams.com)
- Emerald Urethane Trim Enamel Product Details — Sherwin-Williams (sherwin-williams.com)
- Kohler Tone Bathroom Faucet Brochure (PVD Finish Durability) (resources.kohler.com)
- NFPA Standards Council Minutes — NEC Section 210.8(A) GFCI Protection (content.nfpa.org)
- CPSC Urges Fans: Anchor TVs and Furniture — U.S. CPSC (cpsc.gov)
Related guides
- Budget-Friendly Room Makeover: A Step-by-Step Plan for High-End Style
A step-by-step budget room makeover plan covering budget splits, paint sheens, layered lighting, furniture scaling, and finishing touches.
- The 7 Finishing Touches That Make Any Room Look Expensive
Seven styling and accessory finishing touches that make any room look expensive—drapery height, rug scale, art placement, and lighting.
- 5 Splurge-Worthy Home Investments That Actually Add Value (And 5 to Skip)
See which 5 home investments deliver over 100% ROI at resale and which 5 costly remodels to skip, backed by 2025 Cost vs. Value and NAR data.