Budget-Friendly Room Makeover: A Step-by-Step Plan for High-End Style
A budget-friendly room makeover achieves high-end style when you follow a strict sequence: clear the room and plan furniture scale, paint walls and trim in intentional sheens, layer warm 2700K–3000K lighting, anchor seating with a properly sized rug, and finish with tailored drapery and art. Putting most of your budget into paint, lighting, and one anchor piece transforms a room without buying all new furniture.
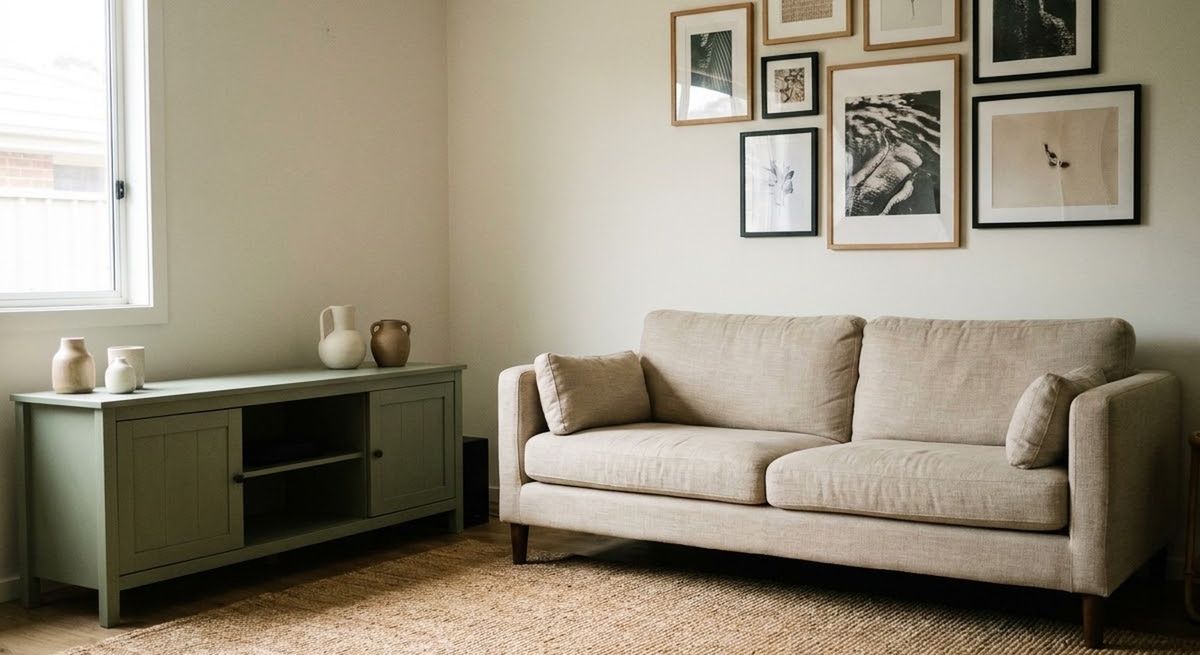
A budget-friendly room makeover looks high-end when you treat the room as one coordinated system—planning layout, paint sheen, layered lighting, rug scale, and finishing accessories in strict order—rather than buying random decor pieces one by one. Most rooms feel unfinished or inexpensive not because the furniture was affordable, but because the lighting is harsh, the rug is too small, and the walls and textiles lack a unified palette.
Whether you are refreshing a living room, primary bedroom, or home office, following a disciplined five-phase plan lets you keep major furniture pieces you already own while transforming how the entire space feels.
Phase 1: Edit, Measure, and Plan the Room Layout
Every successful room makeover starts with an empty-floor audit before you spend a dollar on paint or decor. Removing visual clutter costs nothing and immediately clarifies what the room actually needs.
- Clear small surfaces and walls: Pack away knickknacks, extra side chairs, and dated wall hangings so you can read the room’s true proportions.
- Float furniture away from walls: Pushing every sofa and chair flat against the drywall creates a bowling-alley center and makes rooms feel like waiting areas. Pulling a sofa a little off the wall—or angling two armchairs toward a central coffee table—creates an intimate conversation zone.
- Anchor heavy pieces for safety: Whenever you reposition a media console, tall bookcase, dresser, or television, secure it to the wall with rated anti-tip hardware, following the hardware instructions. The U.S. Consumer Product Safety Commission (CPSC) says to anchor TVs and furniture like bookcases and dressers securely to the wall, and reports an average of 17,800 tip-over injuries a year treated in U.S. emergency departments (2020–2022).
- Lock a tight color palette: Choose one dominant wall neutral (warm white, soft greige, or muted sage), one secondary wood or painted-furniture tone, and one or two repeated accent colors.
If you only want a few fast, isolated improvements rather than a whole-room reset, check our guide to cheap ways to upgrade your home for single-swap projects you can finish in an hour.
Phase 2: Paint Walls, Trim, and Statement Furniture
Paint delivers the highest visual return per dollar in any room makeover, provided you match the coating and sheen to each surface and ventilate properly.
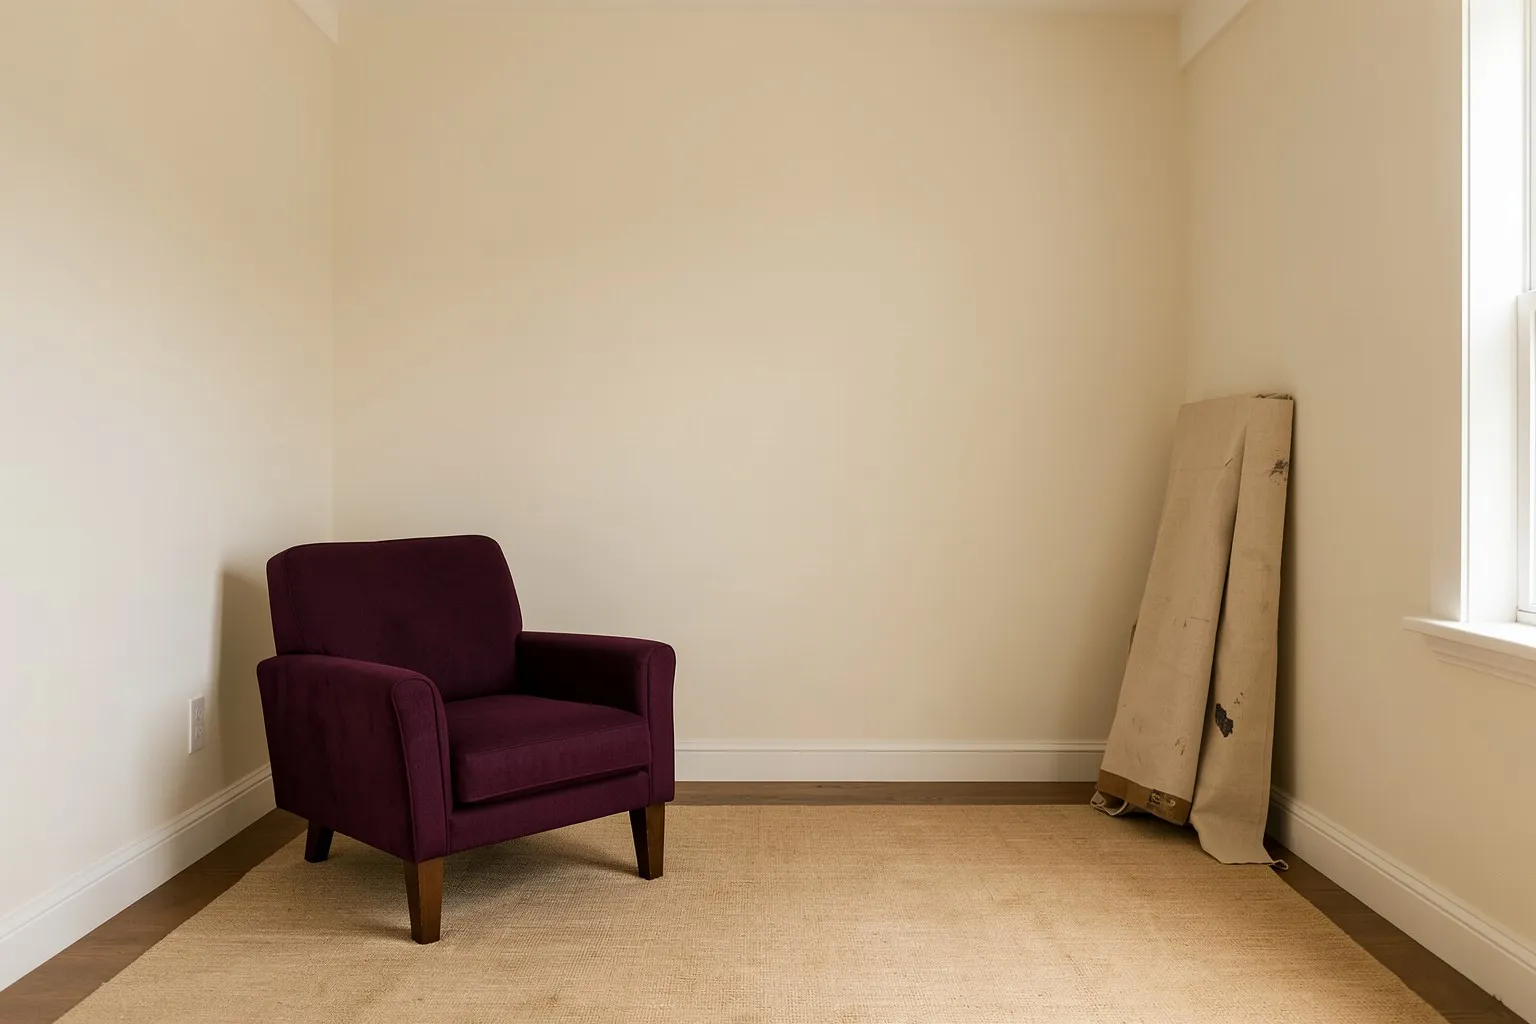
Choosing Wall and Trim Sheens
According to Sherwin-Williams’ paint sheen guide, flat finishes conceal surface blemishes better than paints with more sheen, whereas high-sheen or glossy surfaces are typically easier to keep clean, which suits trim that gets touched and scuffed.
- Walls: Use matte in low-traffic bedrooms and formal living rooms, or eggshell in busy family rooms where walls need occasional wiping.
- Baseboards, casings, and doors: Use satin or semi-gloss trim enamel so architectural lines catch light subtly against matte walls.
- Dated wood consoles or bookcases: Painting an outdated oak media cabinet or thrifted dresser in muted sage, charcoal, or warm taupe with a water-based urethane alkyd such as Sherwin-Williams Emerald Urethane Trim Enamel creates a custom built-in look.
Indoor Air Quality During Painting
Keep windows cracked and run exhaust or box fans while rolling paint and while it cures. The U.S. Environmental Protection Agency (EPA) reports that concentrations of many volatile organic compounds (VOCs), which come from products such as paints and solvents, are consistently higher indoors, up to ten times higher, than outdoors, and advises increasing ventilation when using products that emit VOCs.
Phase 3: Layer Lighting and Choose a Statement Fixture
Harsh overhead lighting flattens a room; layering three distinct light sources at warm color temperatures makes affordable furniture look rich and inviting.
Build three lighting layers in every living space:
- Ambient light: Replace a dated builder-grade ceiling dome with a scaled chandelier, pendant, or linen drum flush-mount.
- Task light: Place a reading floor lamp beside an armchair or matching table lamps on console or bedside tables.
- Accent light: Add a small picture light, library sconce, or concealed LED strip behind a media console to wash the wall with soft glow.
Under ENERGY STAR solid-state lighting criteria, certified residential indoor luminaires are offered in warm color temperatures including 2700K, 3000K, and 3500K with a 25,000-hour rated life. Stick to 2700K in living rooms and bedrooms (or 3000K in bright modern spaces) and keep every bulb in the room on the same Kelvin rating. For exact fixture sizing, shade proportions, and budget brand strategies, see our statement lighting selection guide.
Electrical safety rule: Before replacing any hardwired ceiling fixture or wall dimmer, switch off the circuit breaker, verify the circuit is dead with a non-contact voltage tester and test again at the device terminals, and follow the manufacturer’s instructions and local electrical code. Hire a licensed electrician for new junction boxes or concealed wall wiring.
Phase 4: Anchor the Room With Rug Scale and Textiles
Undersized rugs and short curtains are the two fastest ways to shrink a room visually. Fixing textile proportions costs no more than buying the wrong size—it just requires measuring before ordering.
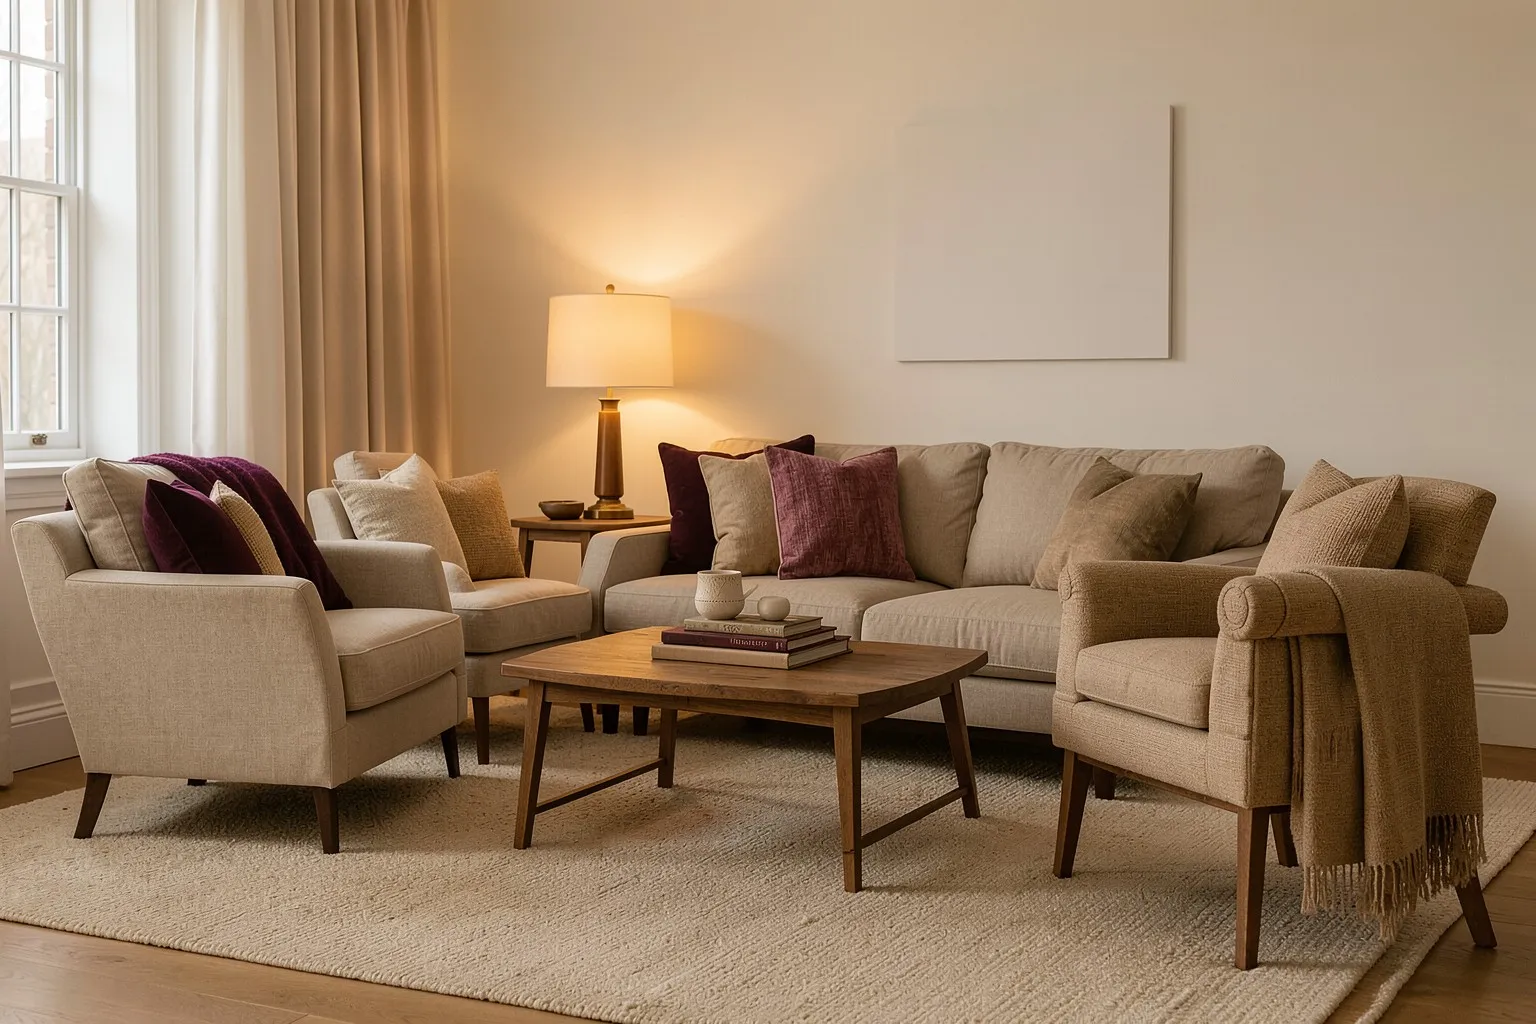
- Area rug sizing: In a living room, choose a rug large enough that at least the front legs of the sofa and accent chairs sit on the rug. In a bedroom, place the rug under the lower part of the bed, extending out on both sides, so you step onto soft pile on both sides.
- Layering for texture on a budget: If a large wool or patterned rug stretches your budget, layer a smaller vintage-style woven rug over an affordable oversized natural jute or sisal rug for custom depth.
- Full-length drapery: Mount curtain rods high—above the window casing, even near the ceiling—and wide enough that open panels clear the glass. Let linen-blend or cotton panels kiss the floor rather than stopping mid-wall.
Phase 5: Style With the 7 Finishing Touches
Once paint, lighting, and textiles are in place, accessories and styling tie the room together without clutter. Rather than filling every shelf with small impulse buys, use fewer, larger pieces: wide-matted framed art hung at eye level, textured throw pillows with plump inserts, grouped coffee-table books on a tray, and real potted greenery. For the complete styling checklist, read our guide to the 7 finishing touches that make any room look expensive.
Furniture Placement and Clearance Rules That Feel Custom
High-end rooms feel effortless to walk through because furniture is spaced for comfortable movement and conversation, not crammed against the perimeter or blocking doorways. Before buying a single new piece, test these practical spacing habits with painter’s tape on your floor:
- Main walkways: Leave a comfortable clear path between major furniture groupings and doorways so traffic never squeezes past chair corners.
- Sofa-to-coffee-table gap: Set the coffee table close enough to the sofa to set down a mug without leaning awkwardly, with enough knee room to sit comfortably.
- Conversation distance: Keep facing sofas or armchairs close enough that guests can talk comfortably without shouting across a wide void.
- Dining clearance: Allow enough space behind dining chairs, between the table edge and walls or sideboards, so guests can pull chairs out easily.
Refreshing Existing Furniture Instead of Buying New
Replacing a solid-wood dresser, media console, or dining set is one of the fastest ways to blow a makeover budget. Updating the pieces you already own—or sourcing one solid secondhand piece—delivers better construction than flat-pack replacements.
Painting Case Goods and Media Consoles
Dated honey-oak consoles, scratched nightstands, and mismatched side tables unify immediately under two thin coats of satin or semi-gloss Sherwin-Williams Emerald Urethane Trim Enamel over a bonding primer. Remove doors and drawers, degrease thoroughly, sand lightly with fine-grit paper, and replace dated knobs with heavier brass or matte-black pulls.
Re-Covering Dining Seats and Swapping Lamp Shades
If you have sturdy wooden dining chairs with stained fabric seats, unscrewing the seat pads from underneath and stapling heavy linen, performance velvet, or textured canvas takes less than an hour per chair. Likewise, replacing yellowed bell-shaped lamp shades on existing ceramic or brass lamp bases with crisp white linen drum shades modernizes an entire room in five minutes.
Room-by-Room Makeover Priorities
Every room has one or two anchor elements that carry the visual weight. Focusing your makeover dollars there keeps small rooms from feeling over-decorated.
Living Room Priorities
Anchor the seating zone first: paint walls a calm matte neutral, place a properly scaled area rug under the front legs of the sofa and chairs, layer warm 2700K floor and table lamps, and hang a large framed mirror or wide-matted art above the sofa or mantel.
Bedroom Priorities
Treat the bed wall as the focal point. Center a clean upholstered or painted headboard, hang matching 2700K bedside sconces or table lamps, layer crisp white or neutral bedding with one textured knit throw at the foot, and keep nightstands clear of tangled charging cables.
Dining Room and Home Office Priorities
In a dining room, centering a scaled chandelier over the table (with a dimmer switch for evening meals) and hanging full-length drapery panels creates instant drama. In a home office, orient the desk toward natural daylight if possible, conceal monitor cables inside a cable tray, and style bookshelves with vertical and horizontal book stacks plus breathing room.
Architectural Illusion Tricks on a Budget
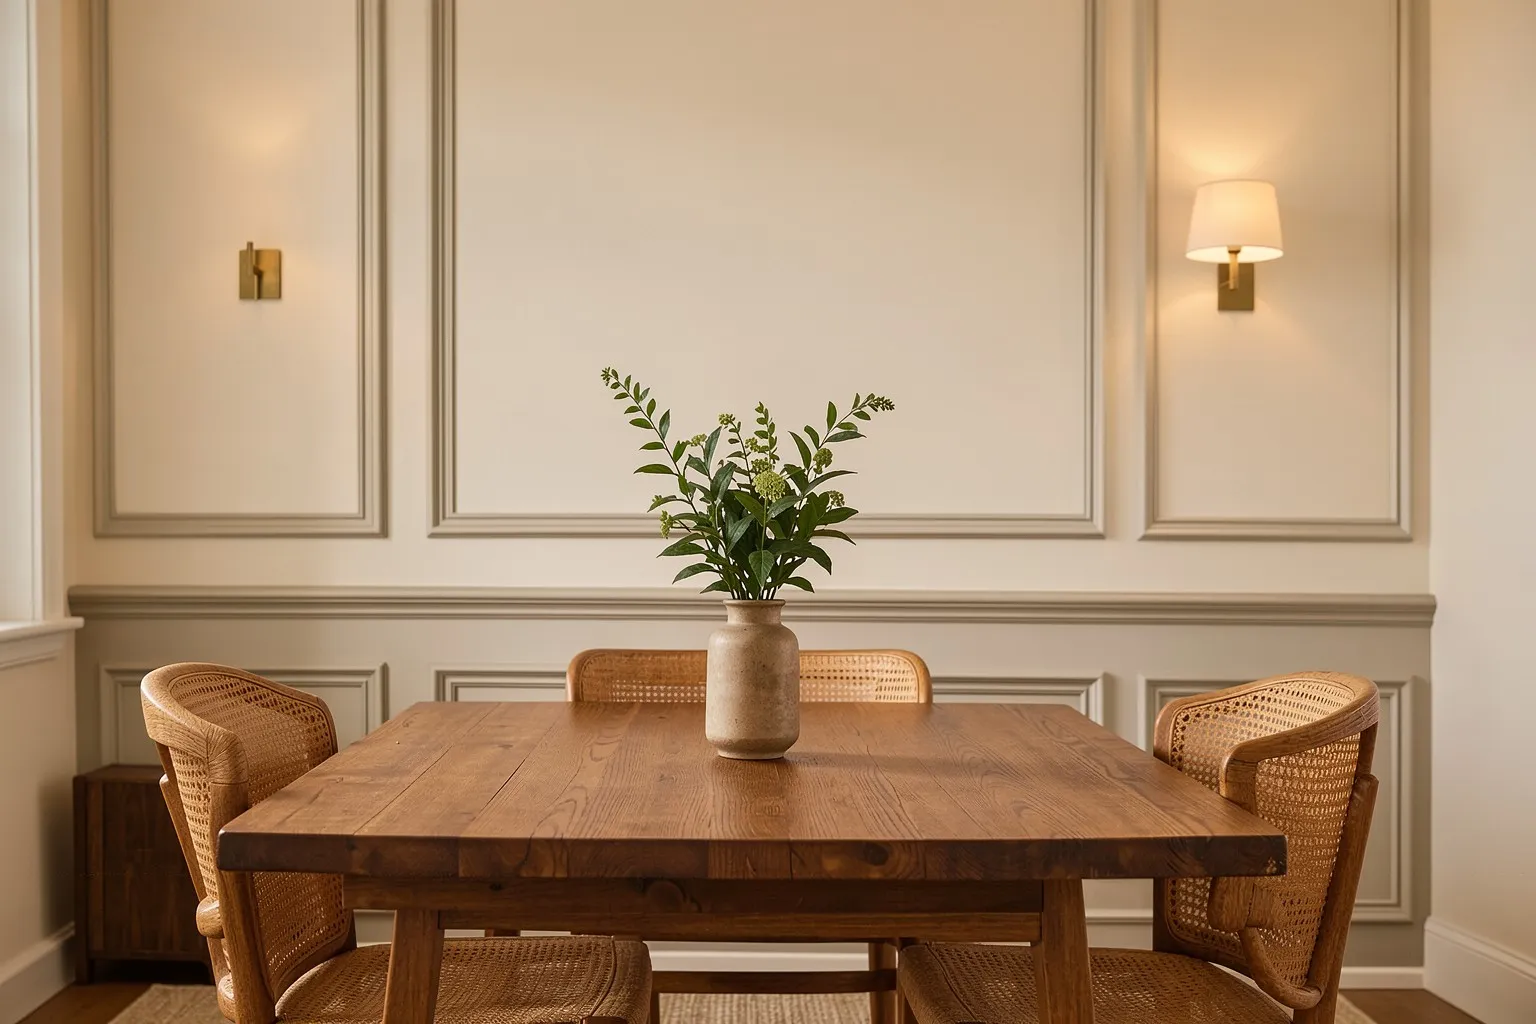
When a room lacks crown molding, tall ceilings, or built-in cabinetry, simple optical tricks create architectural presence without carpentry bills:
- Color-drench small or boxy rooms: Painting walls, baseboards, and door trim in the same muted color—keeping walls matte and trim satin for subtle sheen contrast—blurs harsh corner lines and makes compact rooms feel larger.
- Hang curtains near the ceiling: Mounting rods well above window casings (or just under crown molding) draws the eye upward and makes standard 8-foot ceilings feel taller.
- Add simple picture-frame molding: Pre-primed wood or lightweight polystyrene wall trim glued and brad-nailed into clean rectangular frames adds classic wall depth for minimal material cost, then disappears seamlessly under wall paint.
Common Budget Room Makeover Mistakes to Avoid
Watch out for these five habits that keep a refreshed room from looking truly high-end:
- Buying small decor before fixing paint and lighting: Cute vases cannot rescue dingy walls or harsh 5000K overhead glare.
- Choosing a “matchy-matchy” furniture set: Buying an identical sofa, loveseat, coffee table, and end-table set looks showroom-flat; mix wood, metal, and upholstered textures instead.
- Hanging art too high: Centering frames near the ceiling disconnects them from sofas and consoles; keep artwork centered around eye level and close enough to the furniture below that the two read as one group.
- Skipping the cord and clutter edit: Exposed power strips, overflowing mail piles, and tangled TV wires distract from every upgrade you made.
- Leaving heavy pieces unanchored: Always anchor tall bookcases, dressers, and wall-mounted TVs to studs per CPSC tip-over safety guidance.
How to Split Your Room Makeover Budget
Allocating your makeover budget by visual footprint prevents overspending on small decor while neglecting the room’s foundation:
- Walls, trim, and lighting first: Fund quality low-VOC paint, trim enamel, matching 2700K–3000K bulbs, and one focal light fixture before buying accessories.
- One anchor surface second: Put the next largest share toward a properly scaled area rug or full-length drapery panels.
- Hardware and styling last: Reserve the remainder for frames, pillow covers, a tray, and one statement plant.
For a sourced view of where renovation money pays back, see the splurge vs save planner, and our list of five splurges worth making and five to skip before you commit a budget line.
Sourcing Quality Pieces on a Budget
You do not need designer showroom pricing to get solid-wood construction, heavy linen textiles, and crisp lighting silhouettes. Smart sourcing stretches a room makeover budget without settling for flimsy flat-pack furniture:
- Secondhand solid wood over new particleboard: Check estate sales, architectural salvage yards, and local marketplaces for vintage oak, walnut, or mahogany dressers, sideboards, and dining tables. Dovetail drawers and solid wood frames take paint or a light refinish beautifully and outlast hollow-core veneers.
- Floor samples and open-box lighting: Local lighting showrooms and big-box home stores frequently mark down display chandeliers, floor lamps, and area rugs. Inspect shades for dents and check for a safety-listing label (such as UL or ETL) before buying.
- Custom framing shortcuts: Framing large art prints at a custom shop can rival the cost of a sofa. Instead, buy standard oversized frames with pre-cut wide mats—or pair thrift-store wood frames with fresh archival mat board—to get gallery scale for a fraction of the price.
- Sample paint pots before gallons: Always paint two coats of sample colors onto large poster boards and move them around the room at morning, noon, and night before committing to full gallons.
Maintaining Your Refreshed Room
Once your makeover is complete, a few low-effort habits preserve that crisp, newly designed look:
- Keep a labeled touch-up kit: Store small, tightly sealed jars of your exact wall, trim, and furniture paint colors with the sheen and formula written on the lid so scuffs disappear in two minutes.
- Rotate rugs and cushions seasonally: Turning area rugs 180 degrees and swapping sofa cushion positions prevents uneven sun fading and wear paths.
- Check anchors and hardware yearly: Tighten drawer pulls, verify wall-mounted curtain brackets sit snug, and confirm anti-tip straps on tall storage units remain secure.
Weekend-by-Weekend Makeover Schedule
Breaking a full-room makeover into three focused weekends keeps living spaces usable and prevents decision fatigue:
- Weekend 1 — Clear, measure, and prep: Declutter surfaces, test furniture spacing with painter’s tape, patch drywall nail holes, sand trim lightly, and buy sample paint pots.
- Weekend 2 — Paint and lighting: Roll low-VOC wall paint and satin trim enamel with windows open for ventilation, then swap bulbs to matching 2700K or 3000K LEDs and install your statement fixture (following electrical safety checks).
- Weekend 3 — Rugs, drapery, and styling: Anchor tall furniture to studs, lay down the area rug, mount curtain rods high and wide, hang eye-level art, and style surfaces with trays and greenery.
Renter-Friendly Room Makeover Adjustments
Renters can achieve a cohesive room makeover without painting walls or altering hardwired ceiling boxes. Lean on oversized area rugs to cover dated carpet, tension or bracket-mounted drapery hung high and wide (patching tiny screw holes cleanly on move-out), plug-in wall sconces or tall arc floor lamps fitted with 2700K LEDs, and painted secondhand wood consoles that move with you to your next home. Adding removable adhesive cord channels behind media stands and swapping dated lamp shades for crisp linen drums further refines a rental living room or bedroom with zero permanent changes or landlord headaches.
As the Journal of Light Construction’s 2025 Cost vs. Value trends show in adjacent remodeling categories, clean, universally appealing updates deliver far better value than overly customized splurges. When you are ready to carry this same disciplined approach into wet rooms, explore our guides to affordable kitchen upgrades and opulent guest bath finishes.
| Makeover Phase | Primary Focus | Where to Splurge | Where to Save |
|---|---|---|---|
| 1. Edit & Layout | Declutter, measure clearances, anchor heavy pieces | Wall anchors and cord-concealment channels | Rearranging existing seating for conversation |
| 2. Paint & Trim | Wall color, ceiling white, crisp baseboards/doors | Low-VOC primer and durable trim enamel | DIY prep, taping, and rolling |
| 3. Lighting Layers | Overhead statement fixture, floor/table lamps, dimmers | High-CRI 2700K–3000K bulbs and solid shades | Keeping existing junction box locations |
| 4. Textiles & Rug | Area rug scale, drapery height, throw pillows | Correct rug dimensions and full-length curtains | Washable cotton/linen-blend panels over custom silk |
| 5. Finishing Touches | Framed art, mirrors, trays, botanicals | Large frames with wide mats | Thrifted vintage frames and real greenery |
Invest your core budget in paint, lighting, and a properly scaled area rug; save by rearranging existing furniture, DIYing paint prep, and styling with framed prints and greenery.
All Room Makeovers Decor Lighting guides
Decor
- The 7 Finishing Touches That Make Any Room Look Expensive
Seven styling and accessory finishing touches that make any room look expensive—drapery height, rug scale, art placement, and lighting.
Remodel
- Cheap Ways to Upgrade Your Home: Single-Swap Luxury Looks on a Budget
High-impact, single-swap ways to upgrade your home on a small budget, from dimmers and hardware to fresh caulk, trim paint, and faucets.
Frequently asked questions
In what order should you do a budget-friendly room makeover?
Always work from the structural envelope inward: declutter and finalize your furniture layout first, paint walls and trim second, update lighting and outlets third, lay down your area rug and hang drapery fourth, and style art and accessories last. Following this sequence prevents paint drips on new textiles and ensures wall art and lamps align with actual furniture placement.
How do you make a room look expensive without buying new furniture?
You can elevate existing furniture by floating seating slightly away from walls, anchoring the group with a larger area rug so front sofa legs rest on the rug, swapping dated lamp shades for crisp linen drums, and painting mismatched wooden case goods in a unified satin enamel. Adding warm 2700K–3000K lighting and high-hung drapery shifts the entire room's proportions.
What paint sheen should I use for a living room or bedroom makeover?
Use matte or eggshell on living room and bedroom walls to soften glare and hide drywall imperfections, paired with satin or semi-gloss urethane enamel on baseboards, window casings, and interior doors. As Sherwin-Williams' sheen guide explains, contrasting a low-luster wall against subtle trim sheen creates architectural depth.
How can I safely anchor a TV or tall bookcase during a room makeover?
Use anti-tip straps or mounting brackets, installed to the hardware manufacturer's instructions into wall studs or with anchors rated for your wall type, for flat-screen TVs, tall dressers, and shelving units. The U.S. Consumer Product Safety Commission (CPSC) says to anchor TVs and furniture like bookcases and dresser securely to the wall, or to place a TV on a sturdy, low base if anchoring is not possible.
How much of a makeover budget should go toward lighting?
Reserve a meaningful share of your budget for bulbs, dimmers, and at least two to three light sources per room—overhead ambient light plus table or floor lamps. Replacing a single builder-grade flush mount with a scaled statement fixture and standardizing 2700K or 3000K ENERGY STAR LEDs transforms every paint and fabric color in the space.
What is the difference between a full-room makeover and quick home upgrades?
A full-room makeover coordinates paint, layout, lighting, textiles, and styling across one entire space so every element relates to a unified palette. Quick single-swap upgrades—like changing cabinet hardware, adding dimmer switches, or refreshing caulk—deliver fast wins in isolation without repainting or reworking a room's layout.
Source notes
- Volatile Organic Compounds' Impact on Indoor Air Quality — U.S. EPA (epa.gov)
- Differences Between Paint Sheens — Sherwin-Williams (sherwin-williams.com)
- Emerald Urethane Trim Enamel Product Details — Sherwin-Williams (sherwin-williams.com)
- ENERGY STAR Solid-State Lighting (SSL) Criteria for Manufacturers (energystar.gov)
- CPSC Urges Fans: Anchor TVs and Furniture — U.S. CPSC (cpsc.gov)
- 2025 Cost vs. Value Report: Key Trends — Journal of Light Construction (jlconline.com)
Related guides
- Cheap Ways to Upgrade Your Home: Single-Swap Luxury Looks on a Budget
High-impact, single-swap ways to upgrade your home on a small budget, from dimmers and hardware to fresh caulk, trim paint, and faucets.
- The 7 Finishing Touches That Make Any Room Look Expensive
Seven styling and accessory finishing touches that make any room look expensive—drapery height, rug scale, art placement, and lighting.
- 5 Splurge-Worthy Home Investments That Actually Add Value (And 5 to Skip)
See which 5 home investments deliver over 100% ROI at resale and which 5 costly remodels to skip, backed by 2025 Cost vs. Value and NAR data.